Mt Tallac

HOME Category of all CABIN 96 Hikes Contact CABIN 96
Every 4th of July weekend we take a family/friends vacation up to beautiful Lake Tahoe and I’ve been eyeing hiking Mt Tallac for a while now. At 9,735 ft, it’s not the tallest mountain in the range but it is the tallest on Lake Tahoe. For this journey I had two awesome hiking companions to join me. We woke up around 5:30am and were staying near Incline Village so we had around an hour drive to South Lake Tahoe. The trail head is well marked and there is a few parking area’s for your car. You do have to fill out a self-issued permit which is at the start of the trailhead.


The hike starts out with some decent incline and your hiking in the tree’s smelling the clean, crisp air. After around ½ mile you come to a ridgeline and you have views of Lake Tahoe and Emerald Bay on your left.


Our first small break was around 1.6 miles in at Floating Island Lake. It was perfectly calm and the water did not even have a ripple in it.

It does level off a little bit until the next lake you come to which is Cathedral Lake that is approximately 2.3 miles into the hike.


Let me warn everyone that after Cathedral Lake, this hike gets extremely hard and steep. The rest of the way to the summit is an over 2 mile push with close to 2000+ ft of elevation gain. There is around ¼ mile of rocky steps and then you see the task at hand. No switch backs, just straight up the mountain.


After you get up this steep face you actually are hiking on the back side of the mountain. There is a lot of greenery but the trail is rocky. Also, the summit directly in front of you is actually a false summit so don’t be fooled. You still need to go around this and then Mt Tallac will come into view. The last 200 ft or so is a rock scramble to the summit.


The summit offers sweeping 360 degree views and is worth all the quad busting work it took to get there.


I didn’t see a summit marker or plaque but it didn’t even matter. After a quick lunch, we headed back down. Total mileage for the trip was 10 miles with about 3200 ft in elevation gain. I want to thank Alwyn and Desha for joining me. Can’t wait for our next adventure together.

Mt Whitney Hike by Cabin 96
HOME Category of all CABIN 96 Hikes Contact CABIN 96
Mount Whitney, the mecca of hiking in California and highest peak in the lower 48 at 14,505 ft. Total distance round trip is 22 miles with 6,200 ft in elevation gain.
This hike is no joke! Preparation hikes included Saddleback Mountain, Mt Baldy via the Bear Canyon Trail and San Gorgonio via the South Fork trail. You do need a
permit in order to hike Mt Whitney and can apply for one in an advanced lottery that is chosen at random or you can go the day before to claim any permits that have not
been released. Here is a link to apply:
http://www.fs.usda.gov/detail/inyo/passes-permits/recreation/?cid=stelprdb5150055
We picked up our permit at the following location which is 2 miles away from Lone Pine where we stayed:
Eastern Sierra InterAgency Visitor Center
Junction of Highway 395 and State Route 136
2 miles south of Lone Pine, CA
(760)876-6222/6200 or
TDD(760)876-6201
There is a store at this location with souvenirs, memorabilia and a lot of good knowledge about the mountain. They also provide you with the famous WAG bags for your hike. No human waste is allowed on the trail so if you need to do your business, you are required to hike it out in these provided bags. (We did not need to use these, so no stories there:)
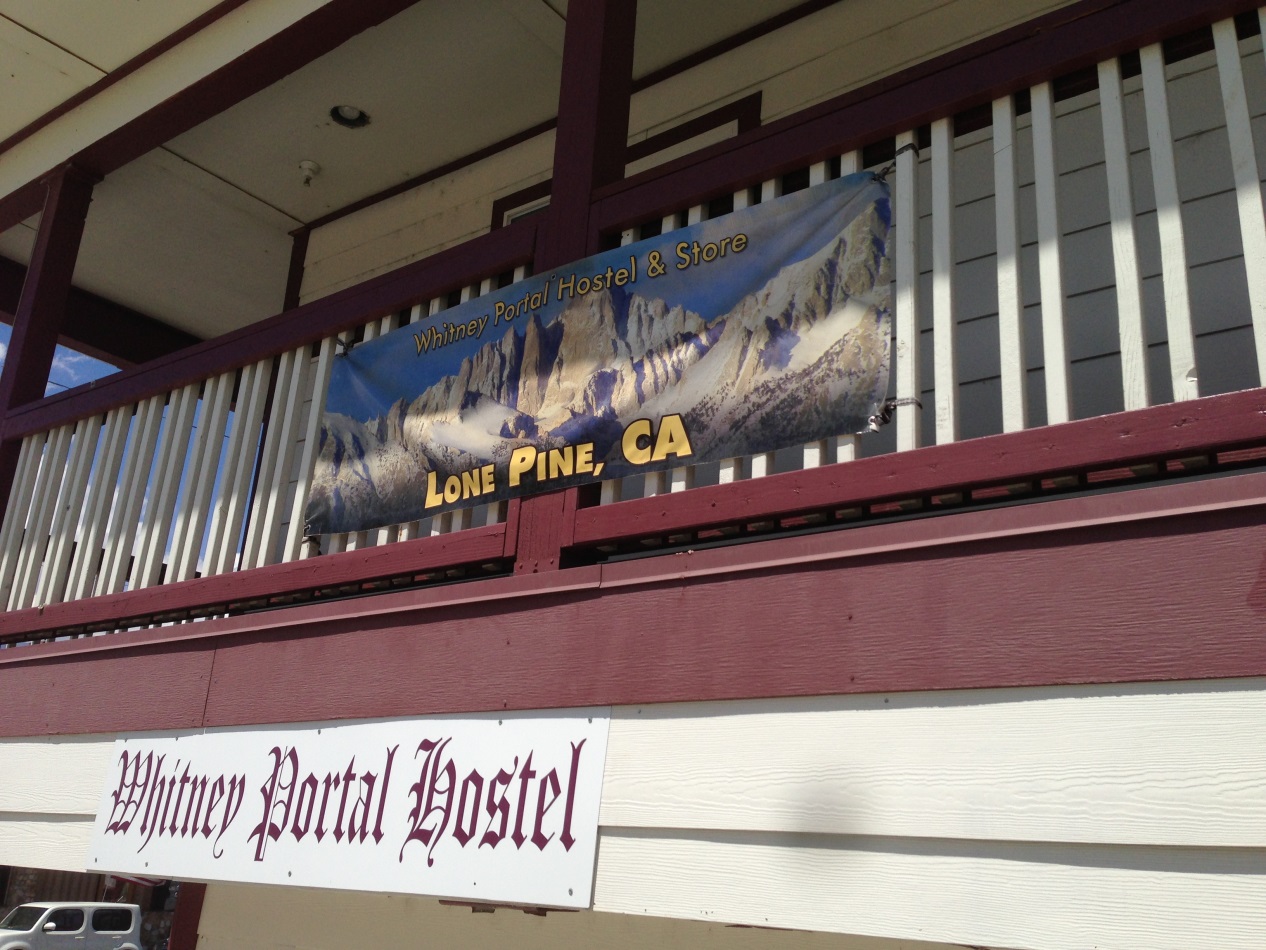
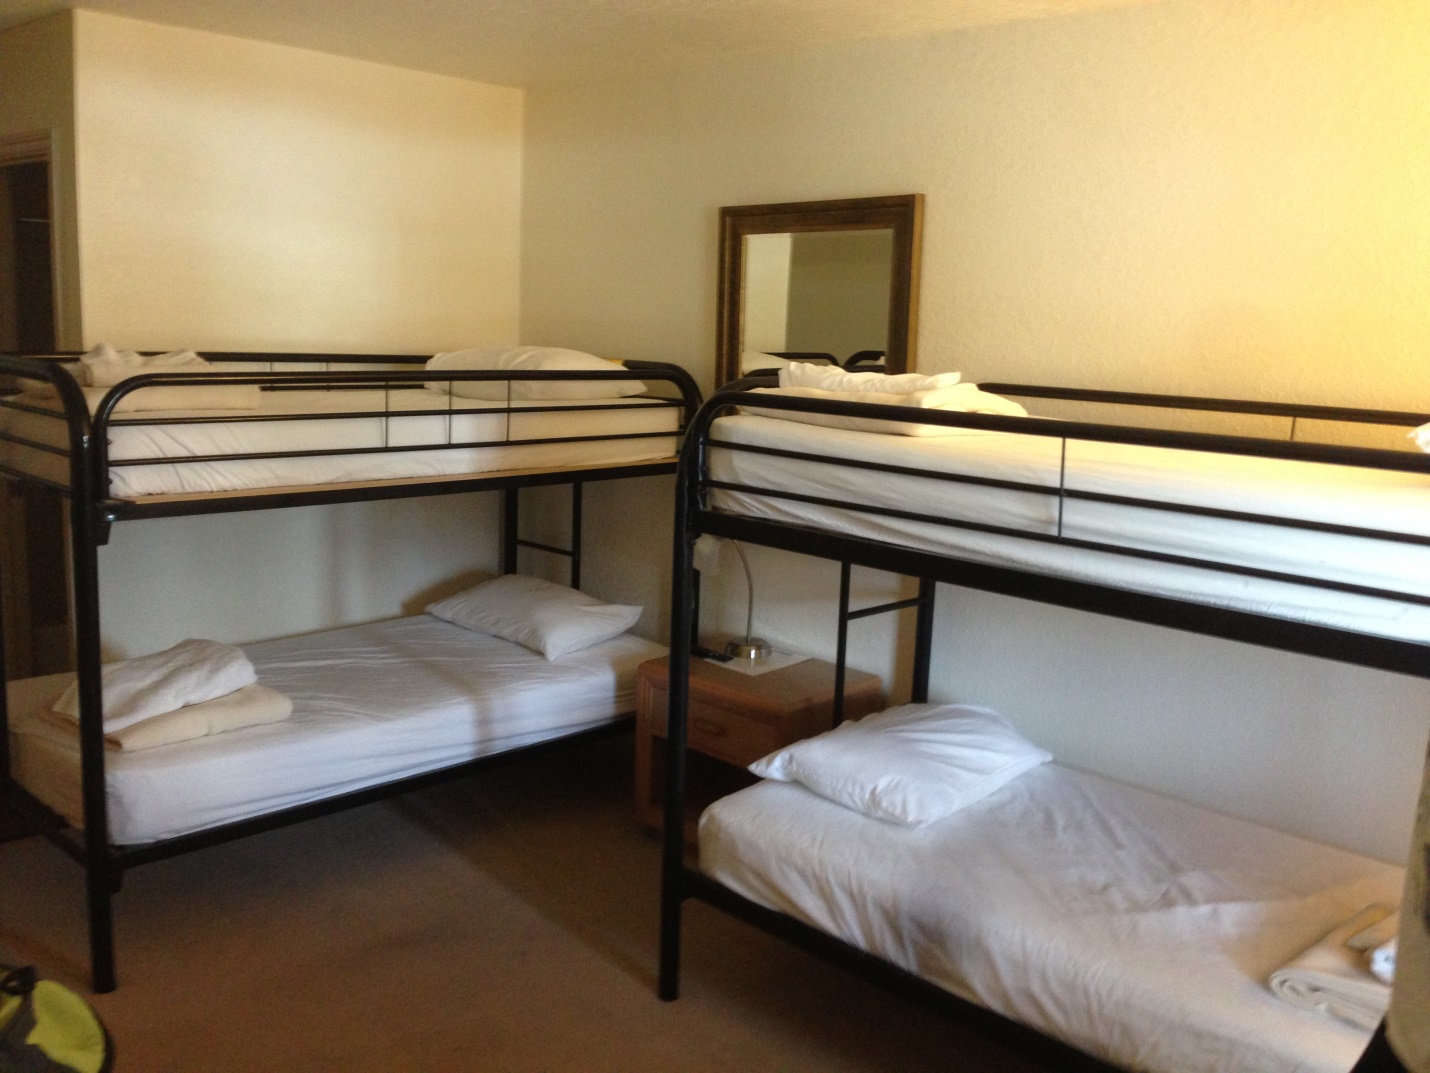
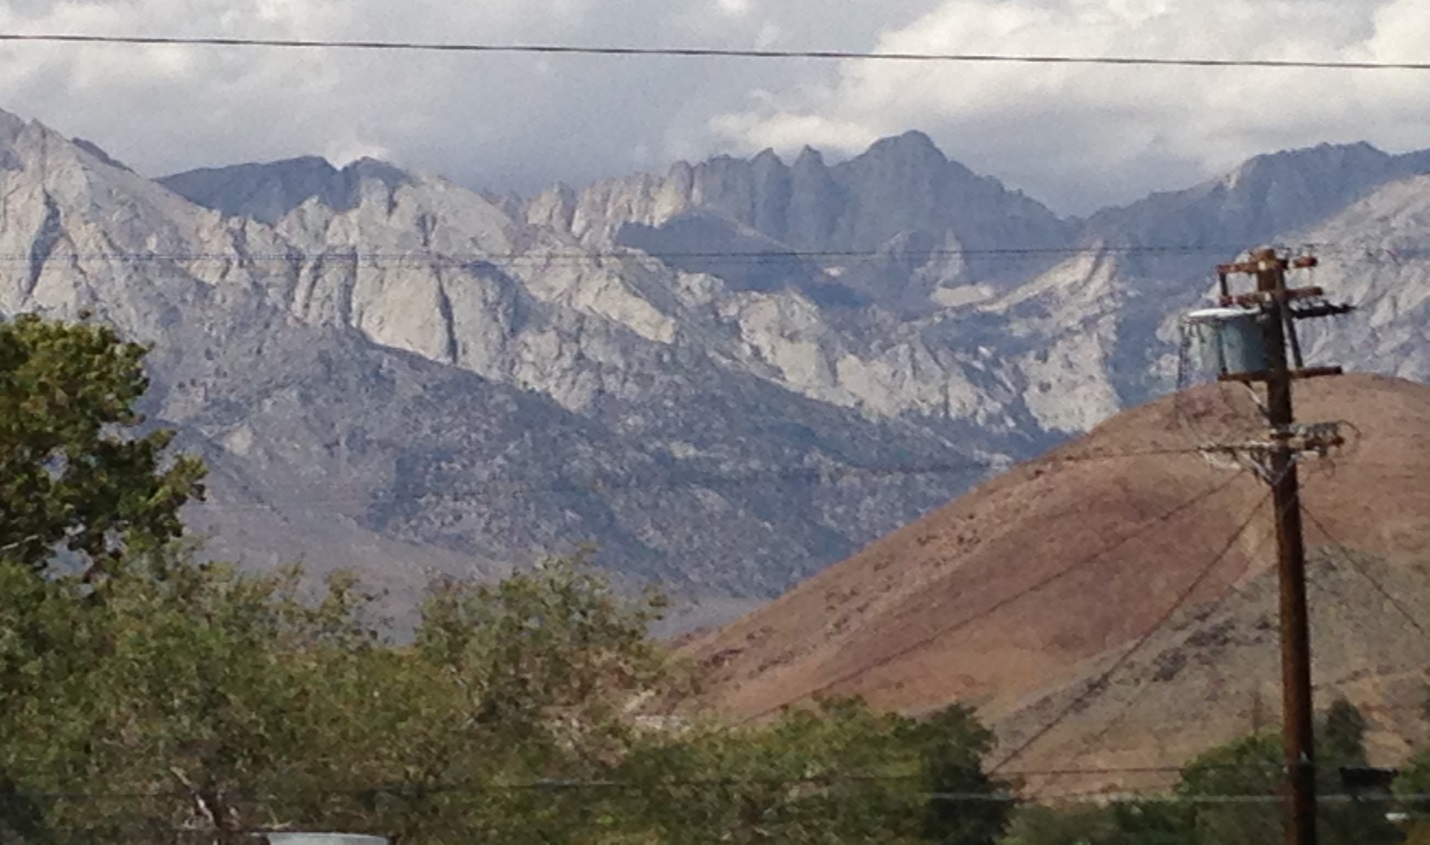
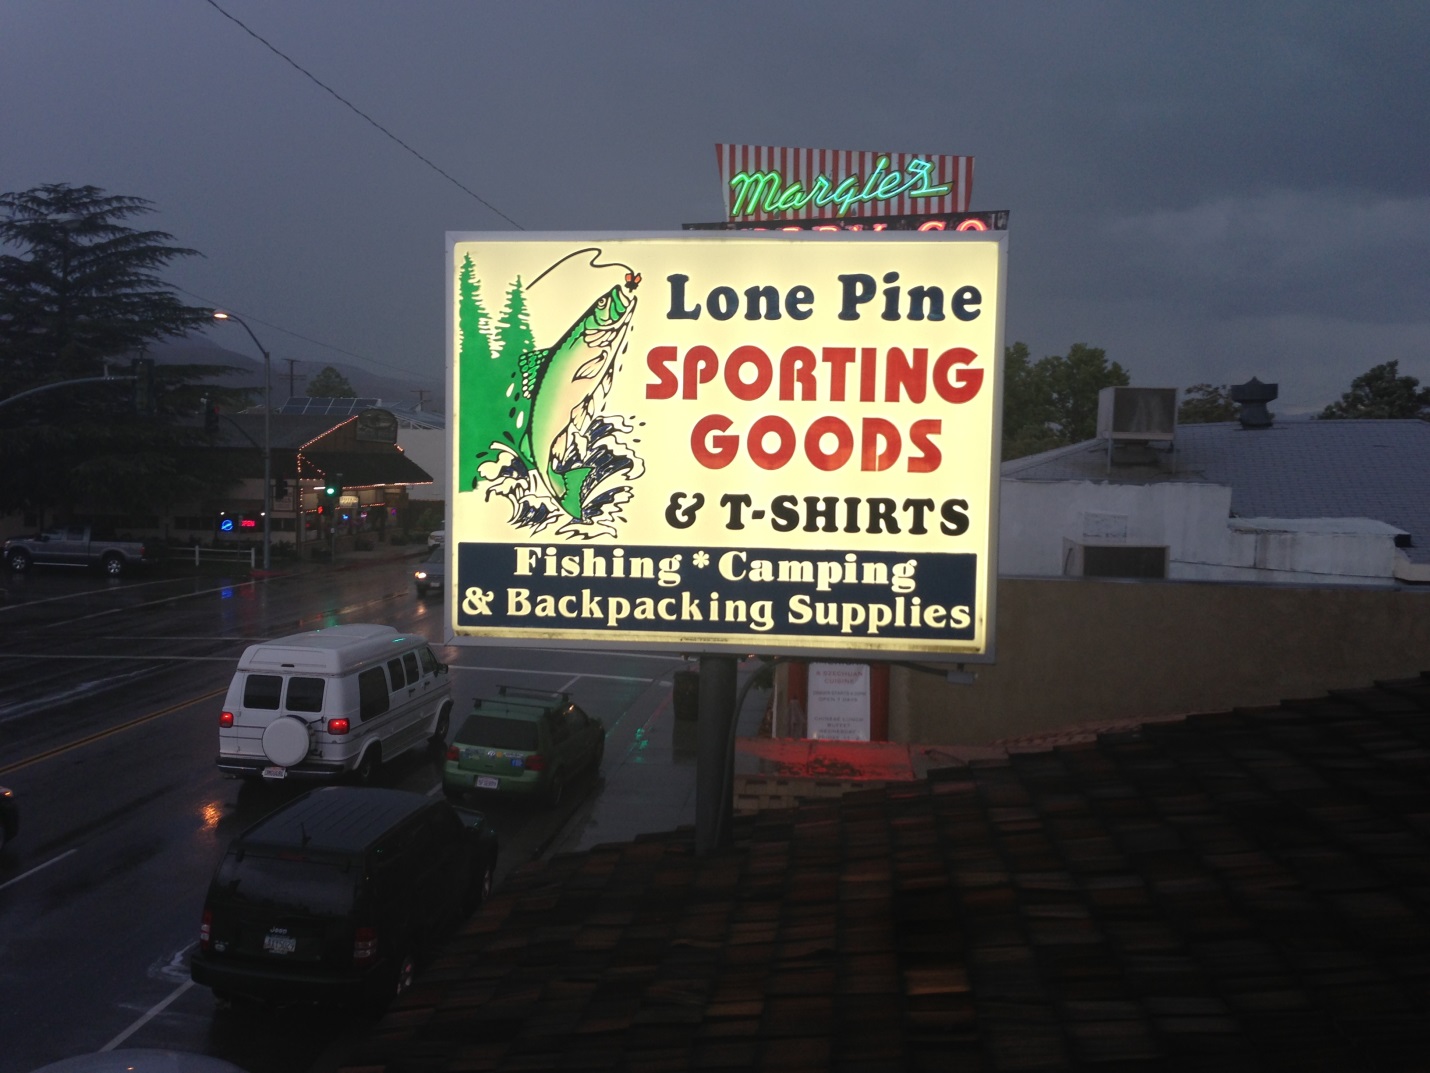
We arrived to Lone Pine the day before the hike and stayed at the Whitney Portal Hostel. I believe this is the closest place you can stay to the start of the trail head. Its right in the middle of town and you can walk to any of the restaurants or stores along Highway 395. It also offers a great view of the mountain.

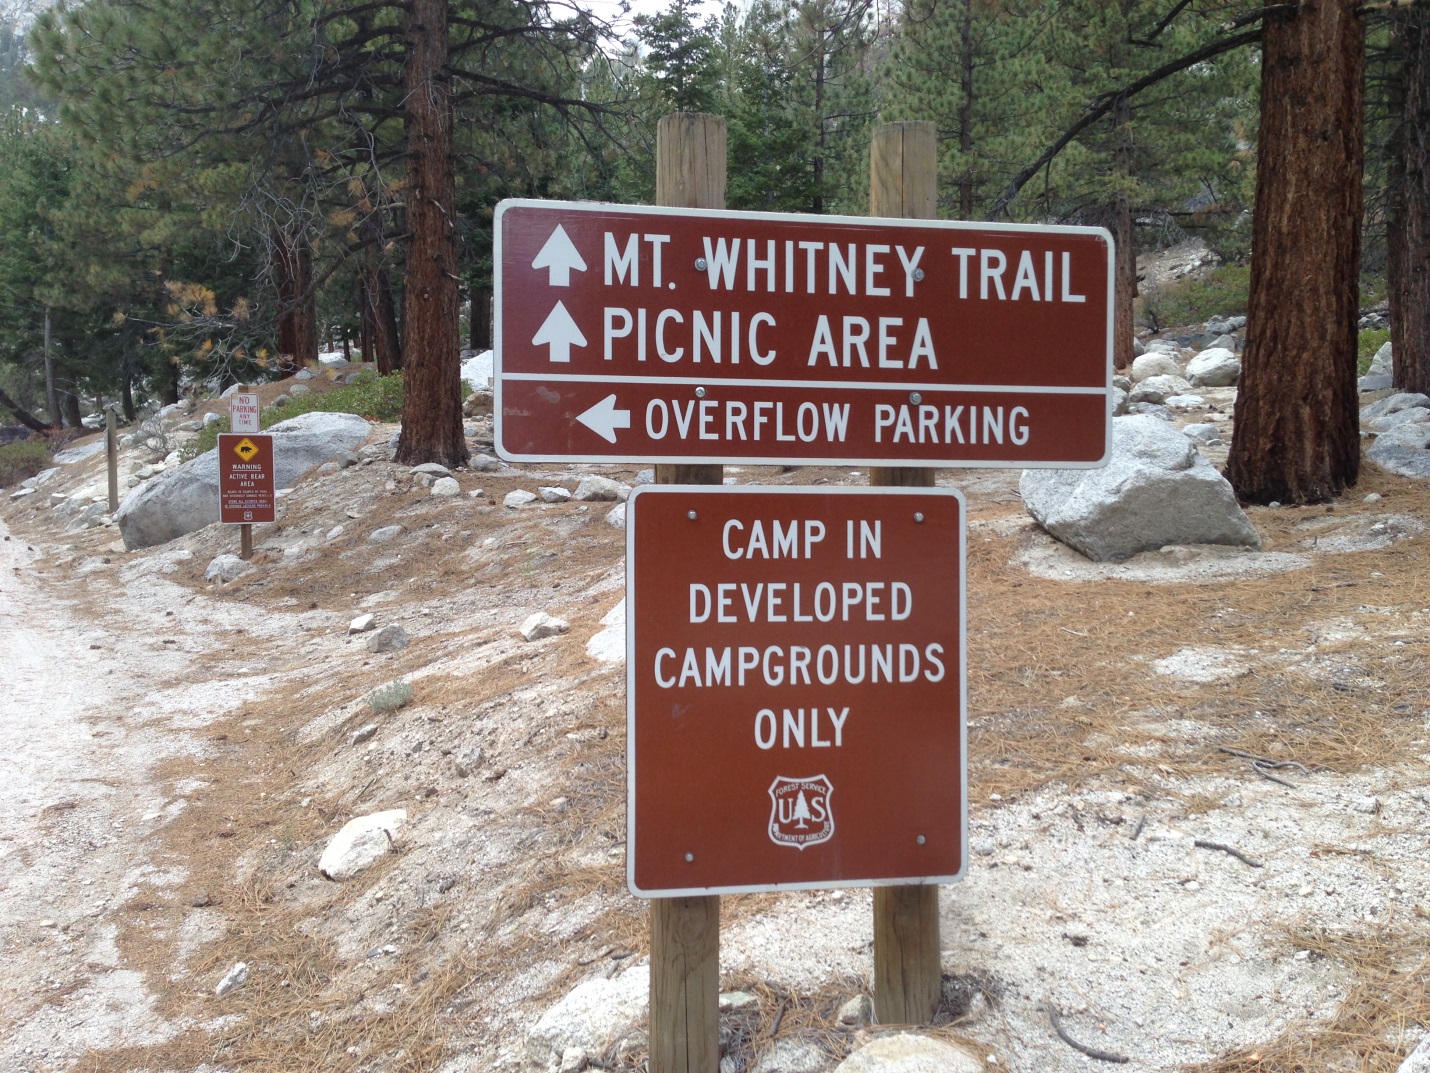
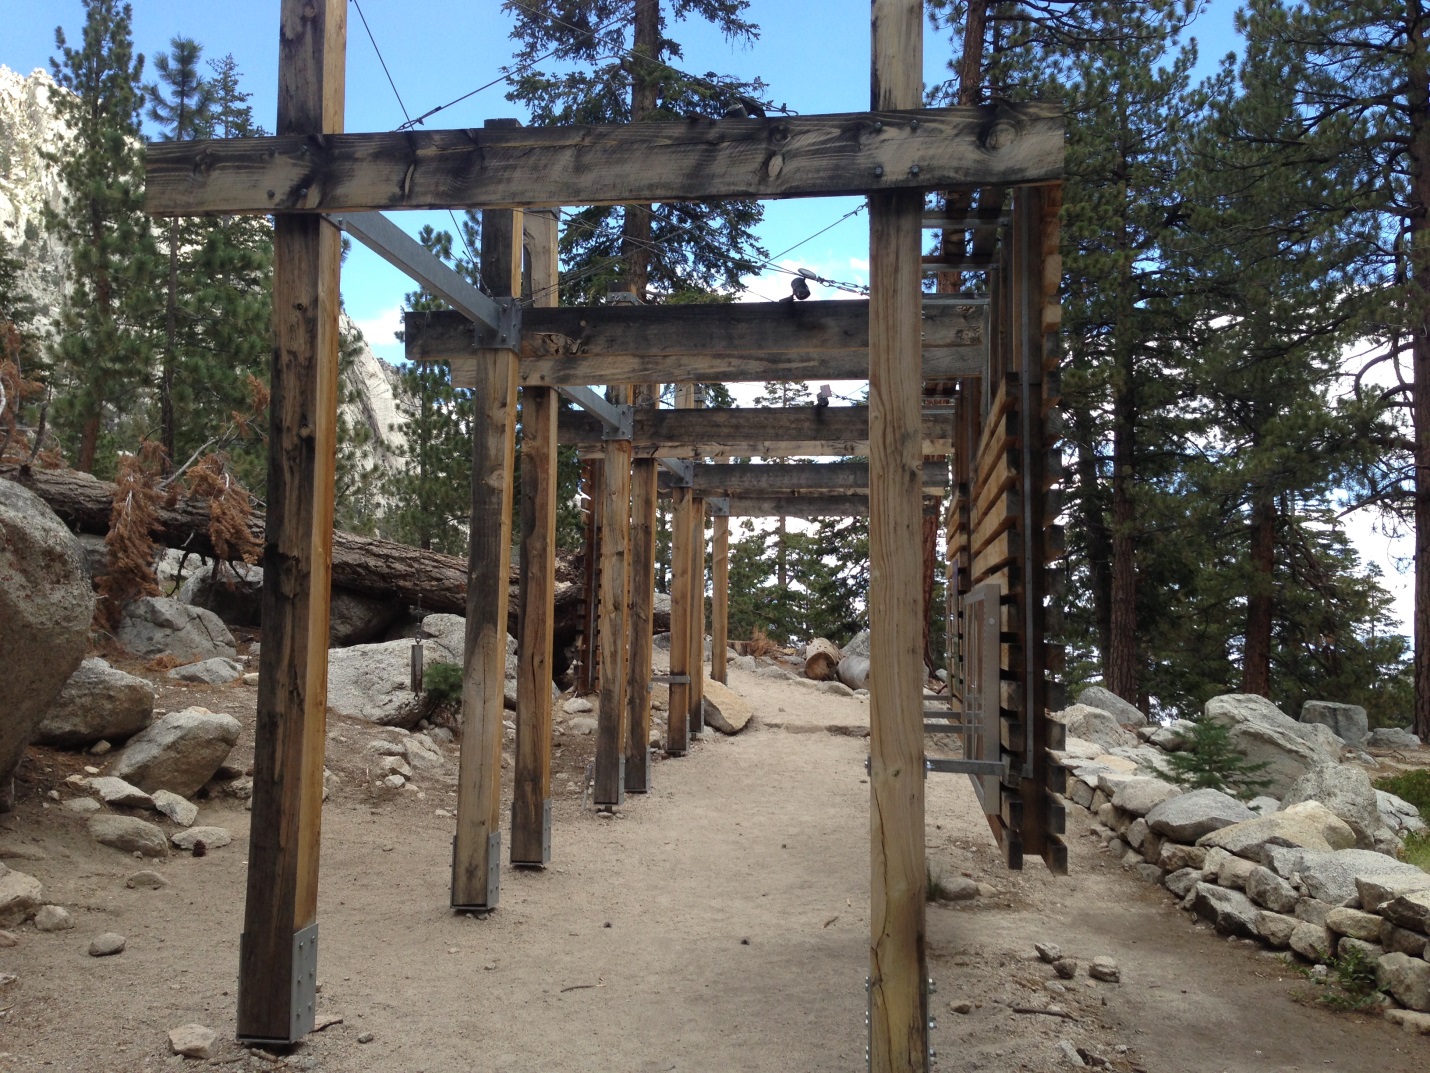
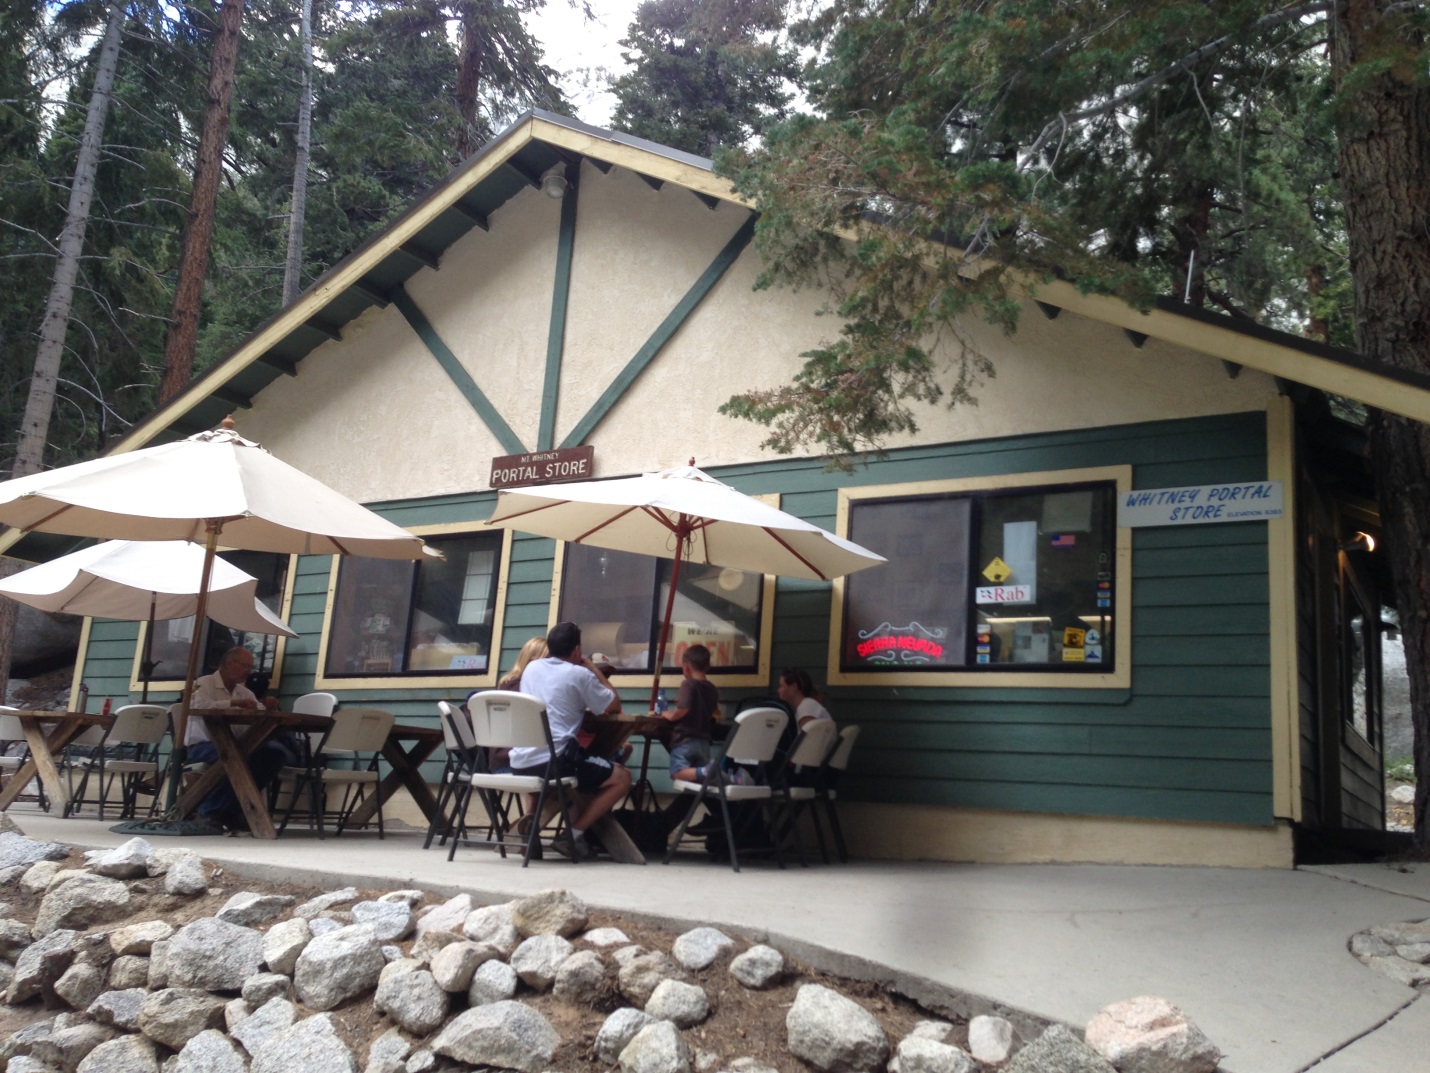
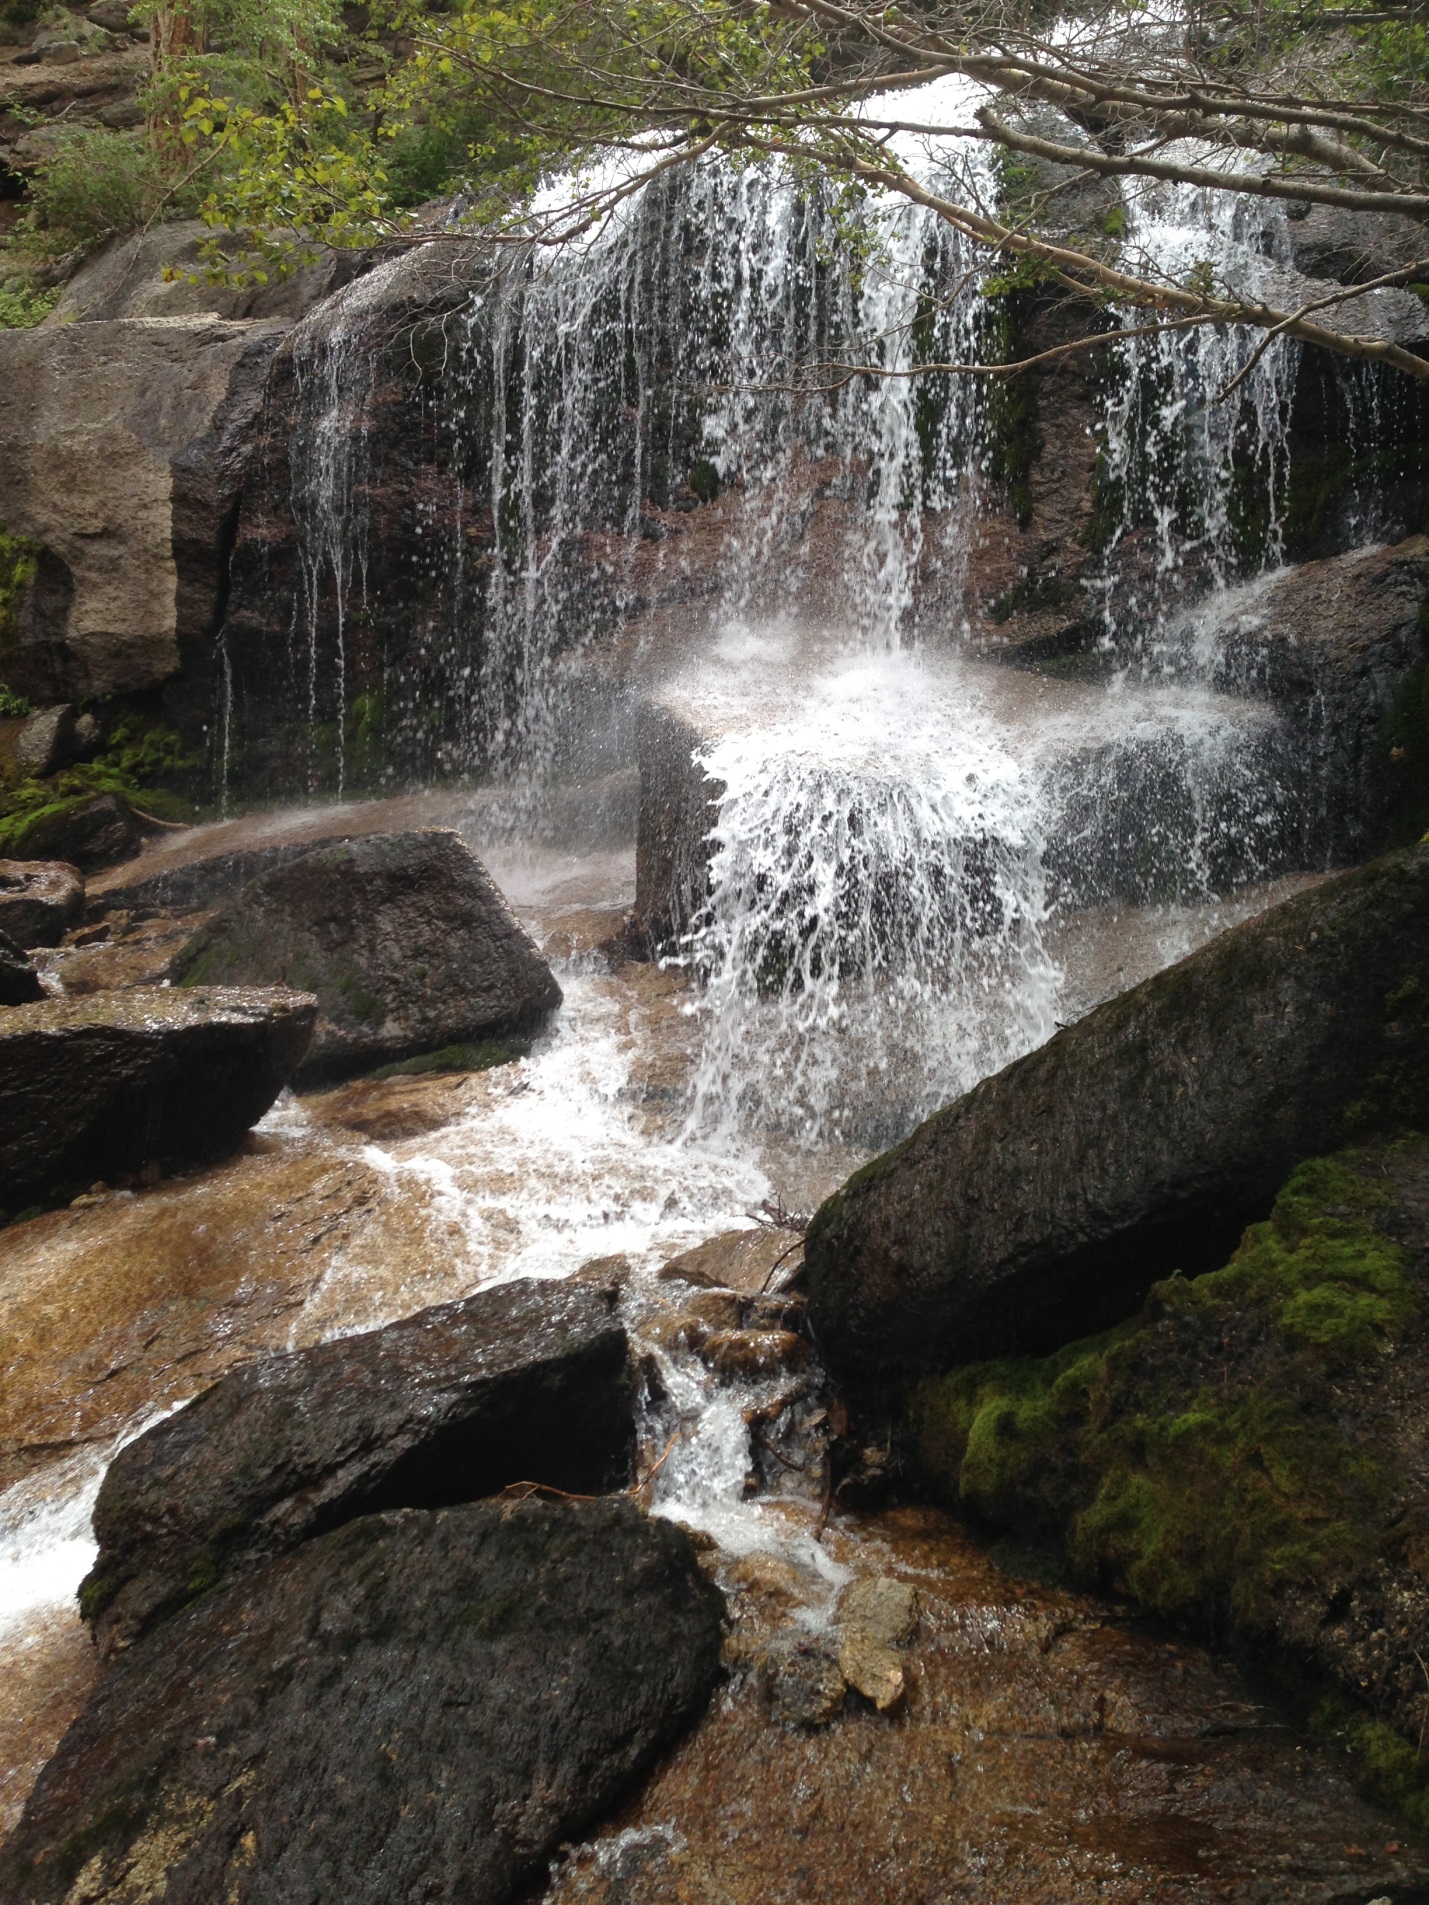
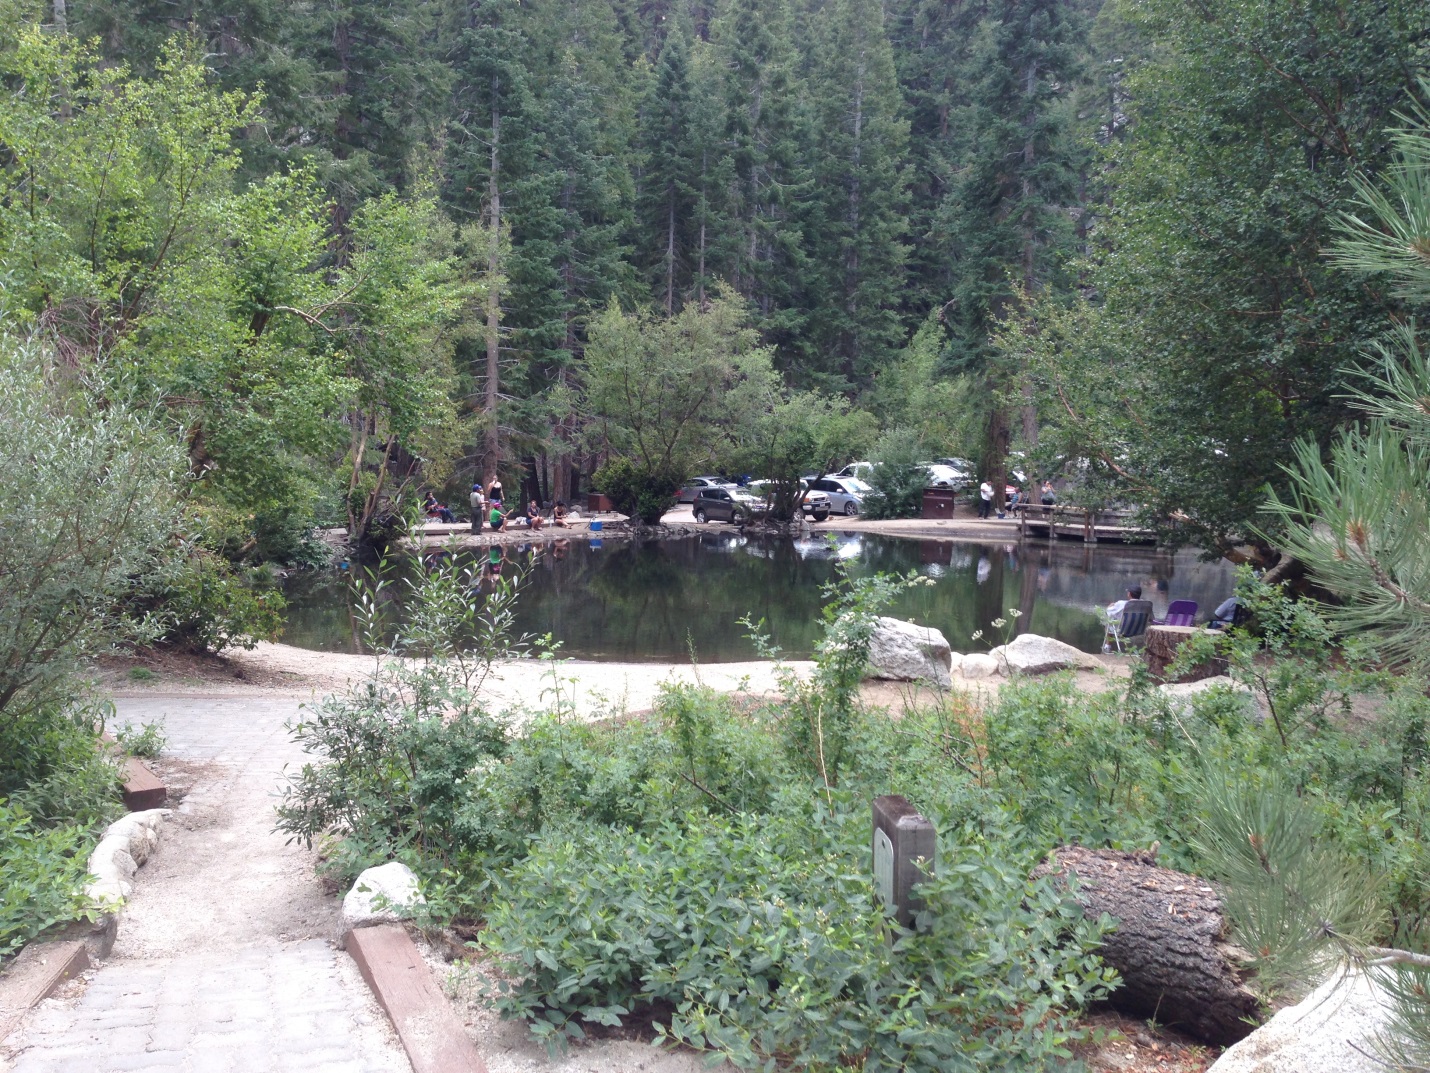
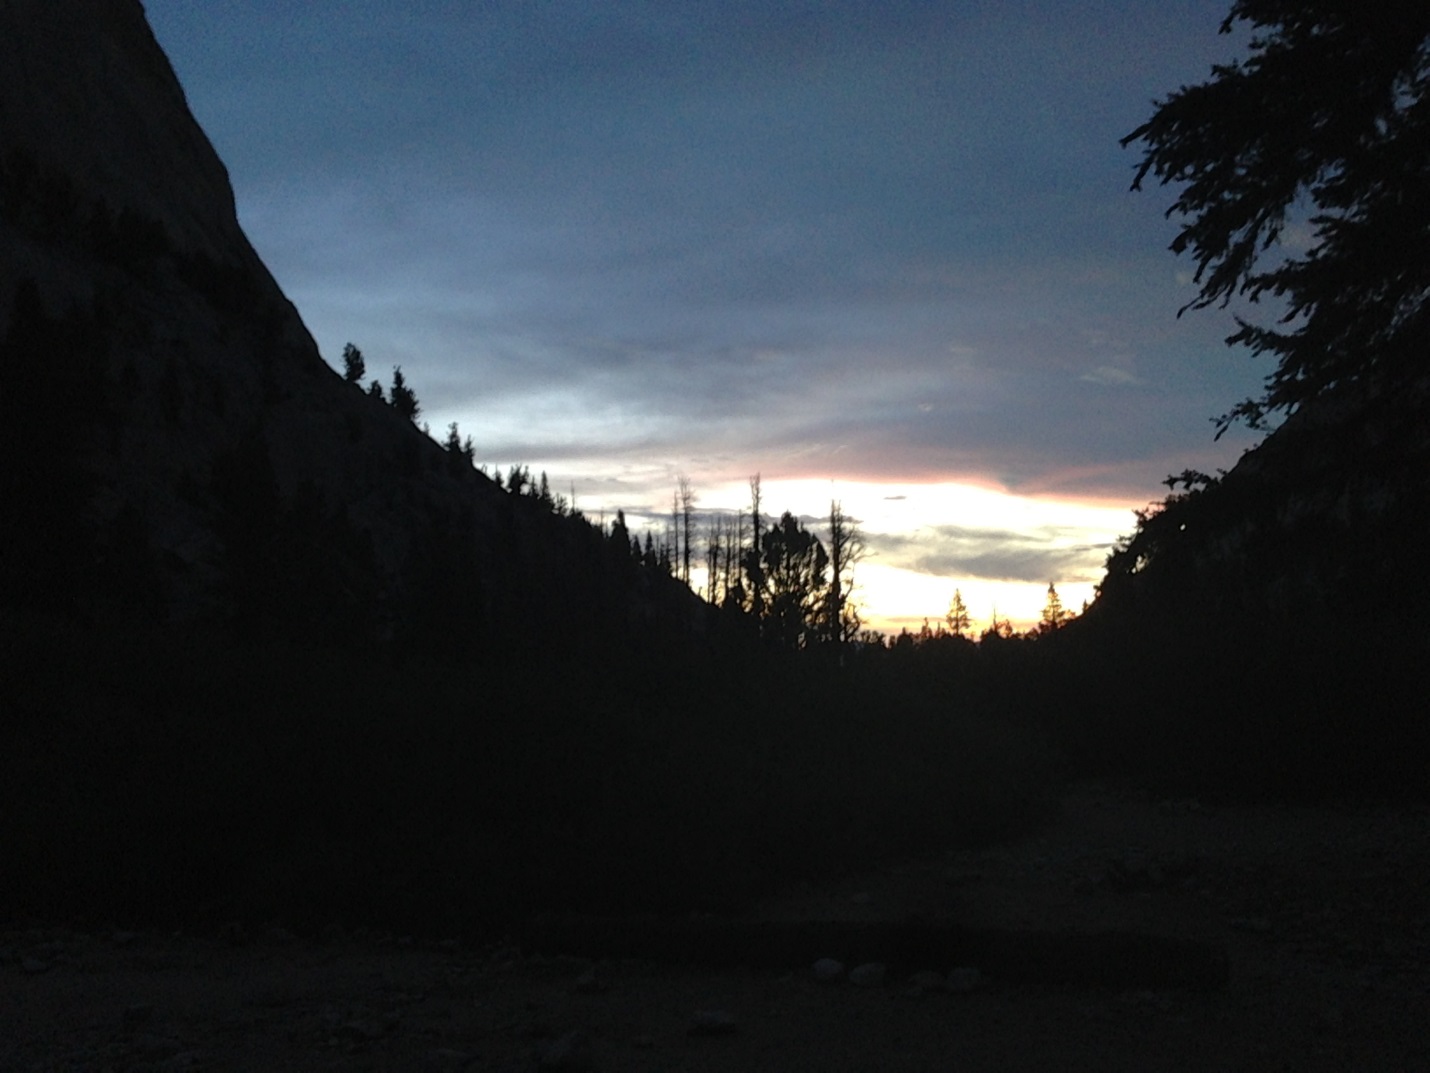
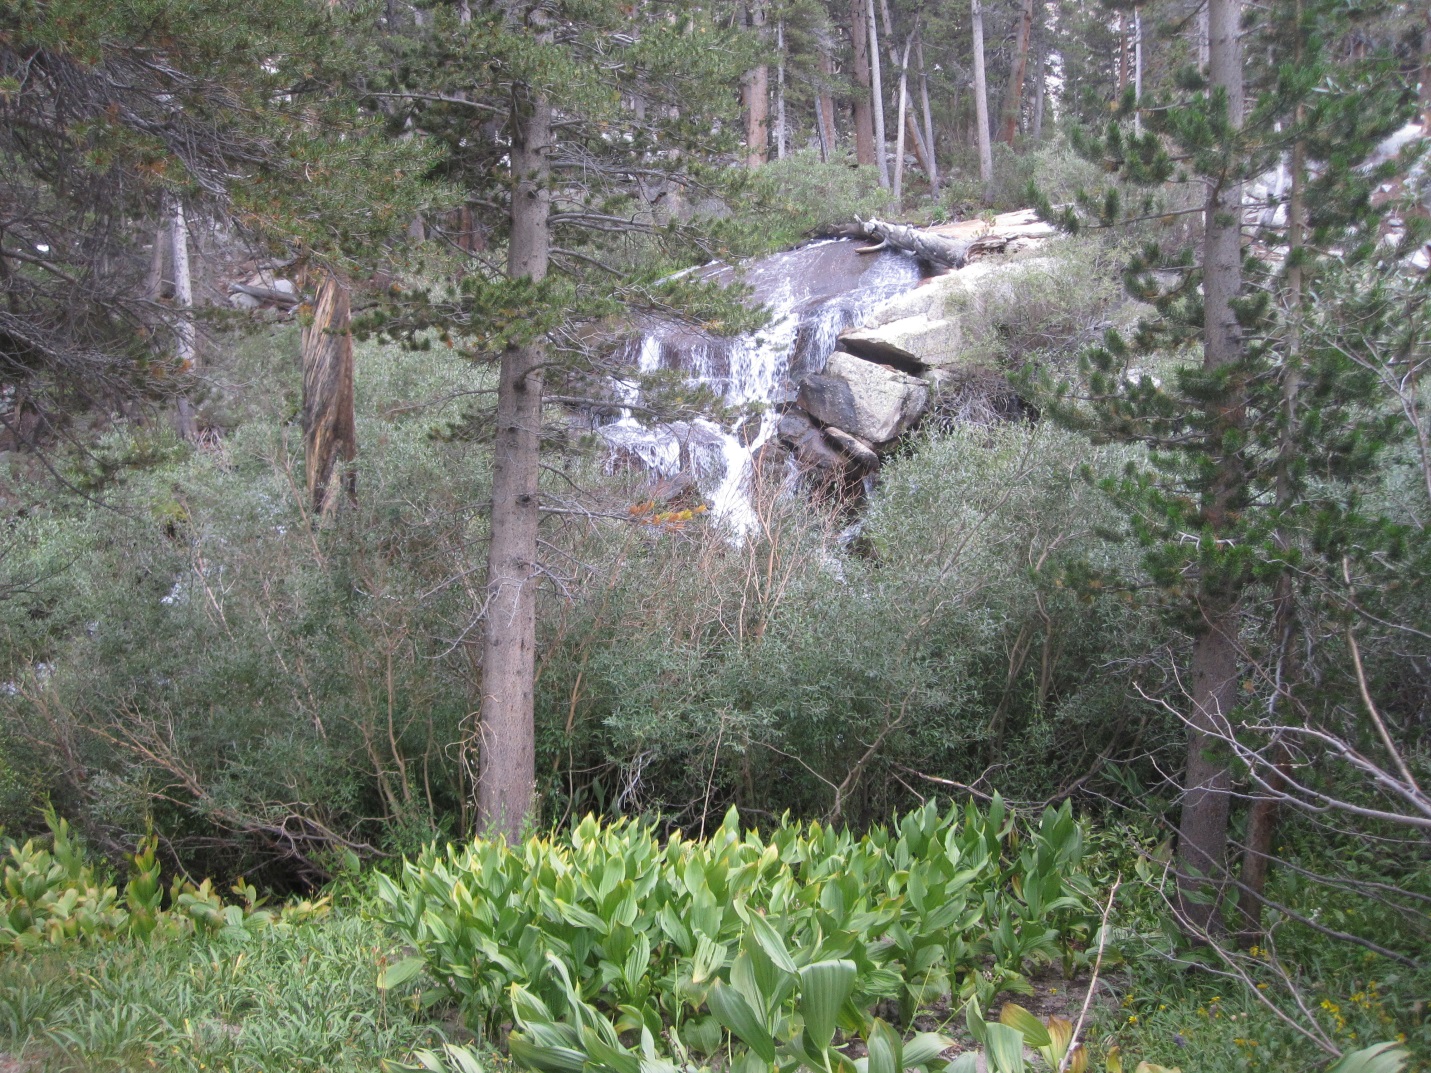
After grabbing a quick bite to eat, we decided to head up to the start of the trail head to check out the parking area and scenery since we would be start hiking early the next morning and everything would be dark. There are some small waterfalls, lakes and even a restaurant/store at the trailhead. I really do recommend if you have the time to explore this area as it does have a lot to offer.
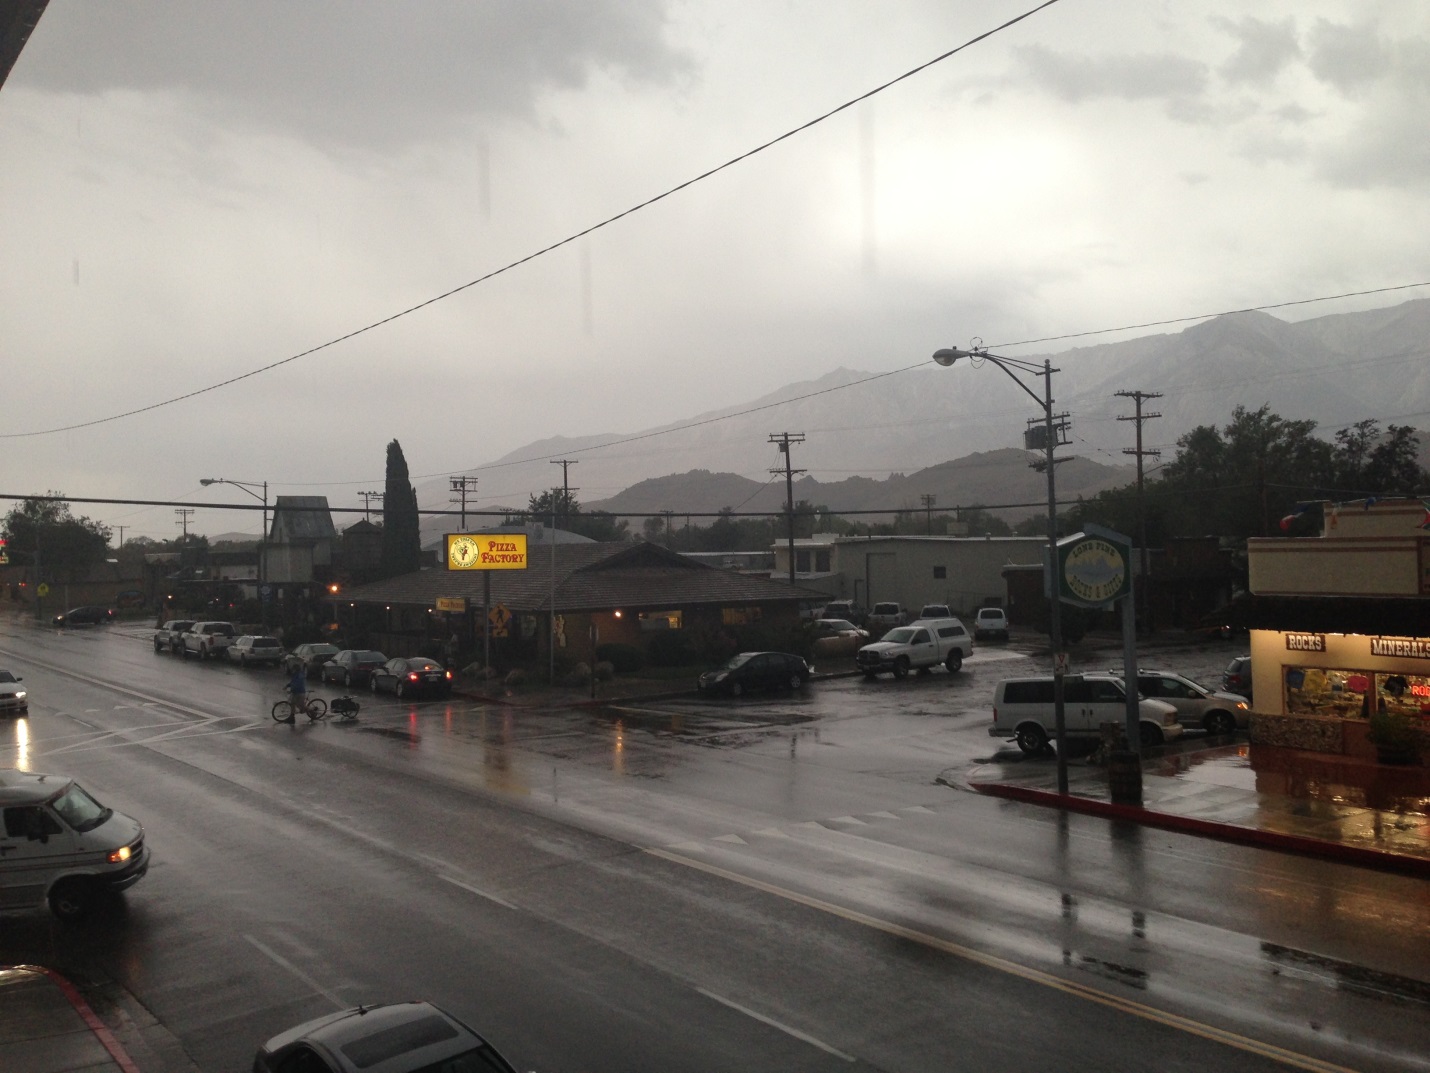
Clouds started to roll in and the faint sound of thunder could be heard so we headed back to Lone Pine to grab supplies for the next day and a quick dinner. We did hear of a pending storm that was supposed to hit the area and boy did it ever. The thought of canceling the hike was on our minds the rest of the day and night but we decided to stick with our original plan and see how the weather was when we woke up.
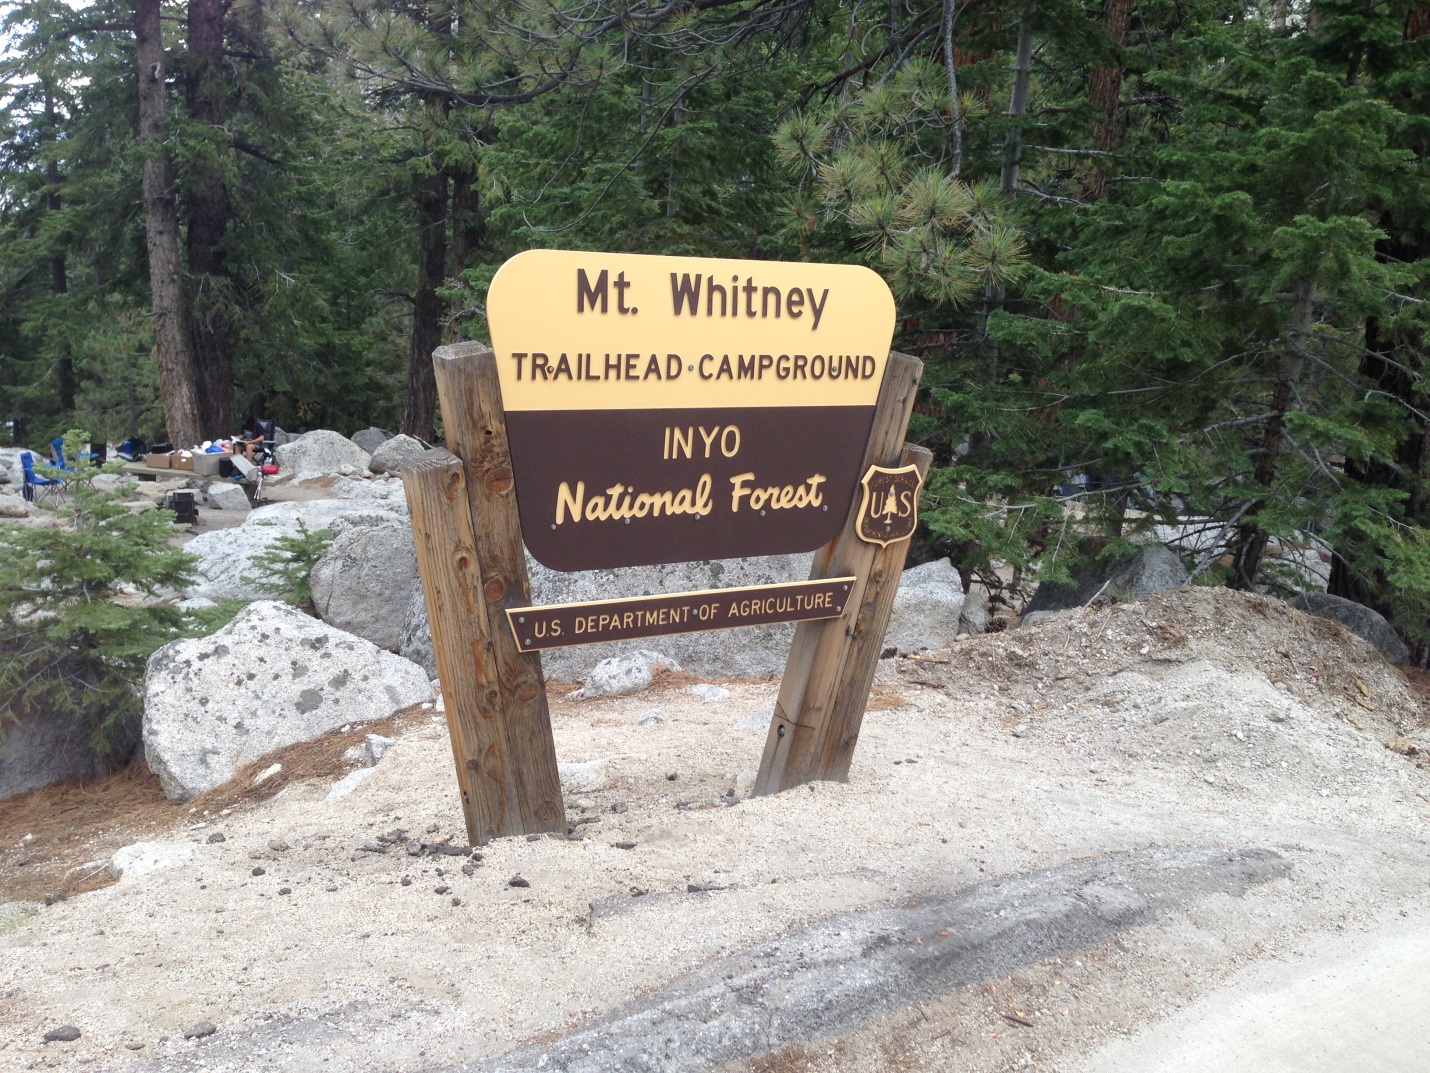
We woke up around 4:00am, packed our stuff and headed to the trailhead which is about 20 mins away. Be careful on the road up as we had 2 deer run right in front of the car. We snapped some quick pictures at the trailhead and started up right at 5:00am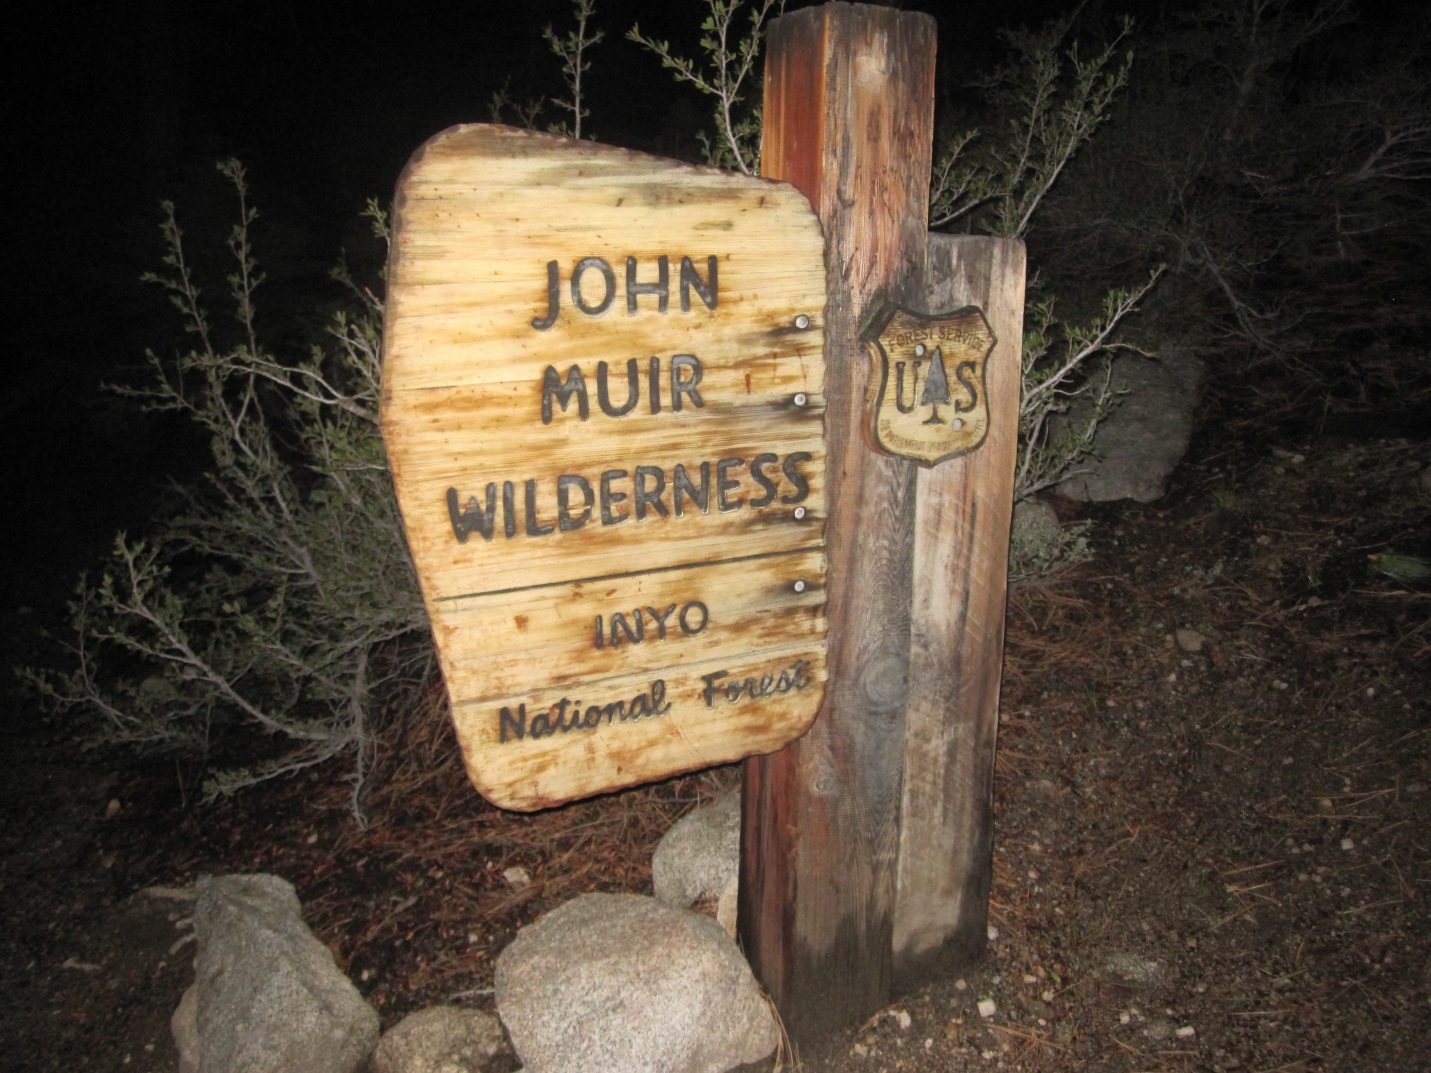
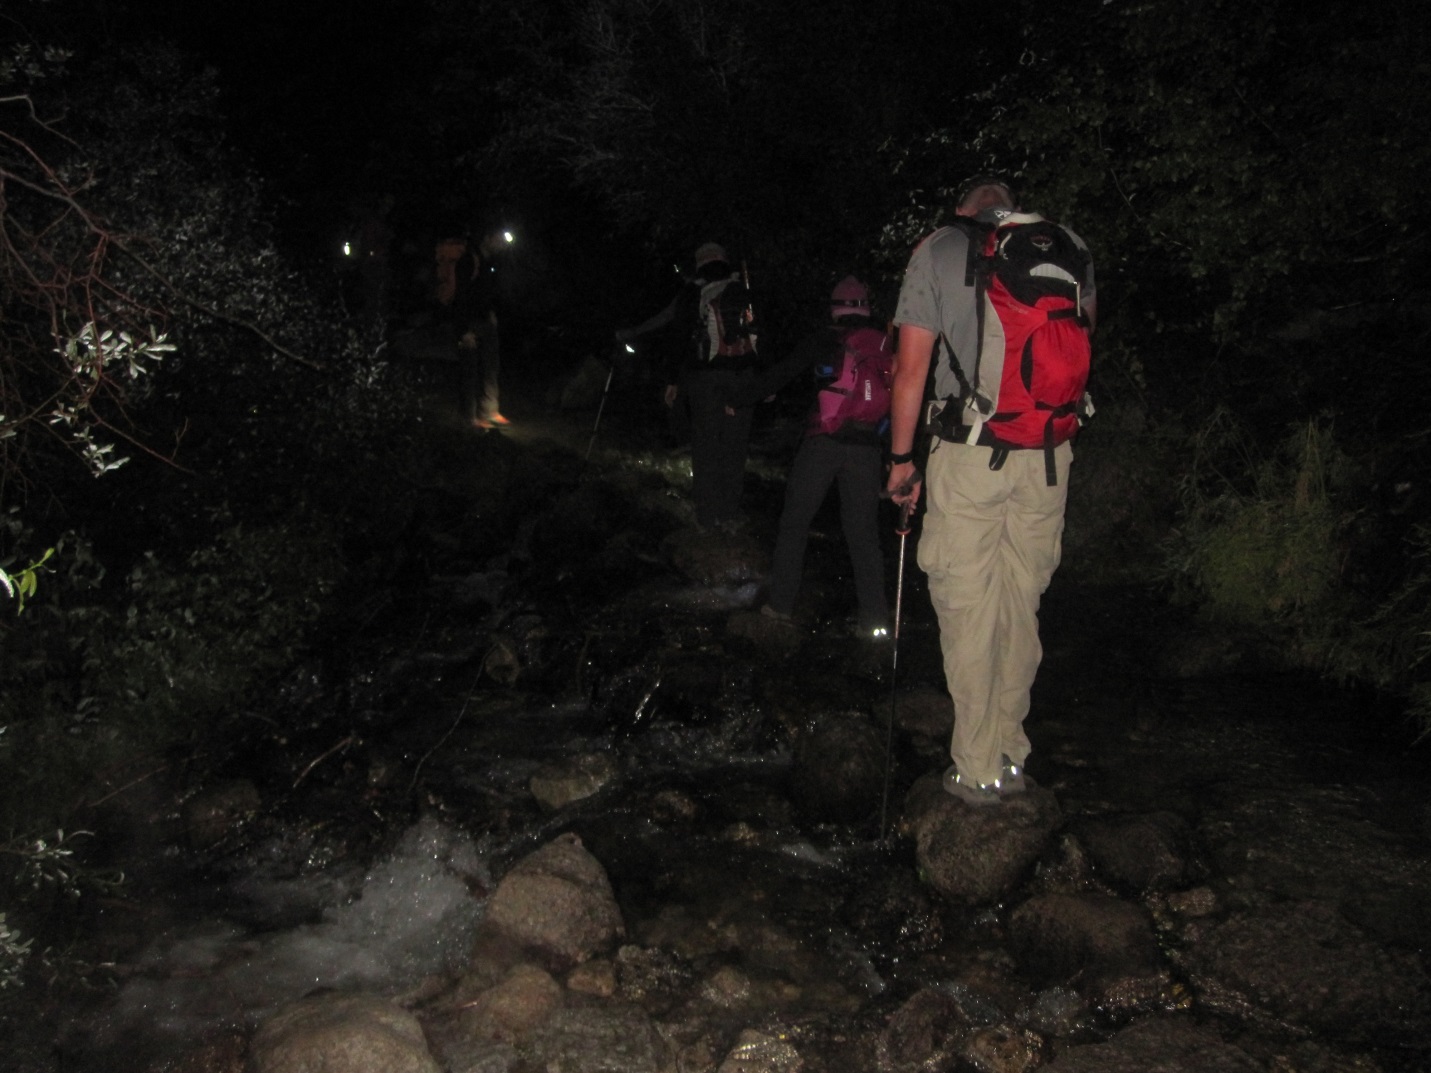
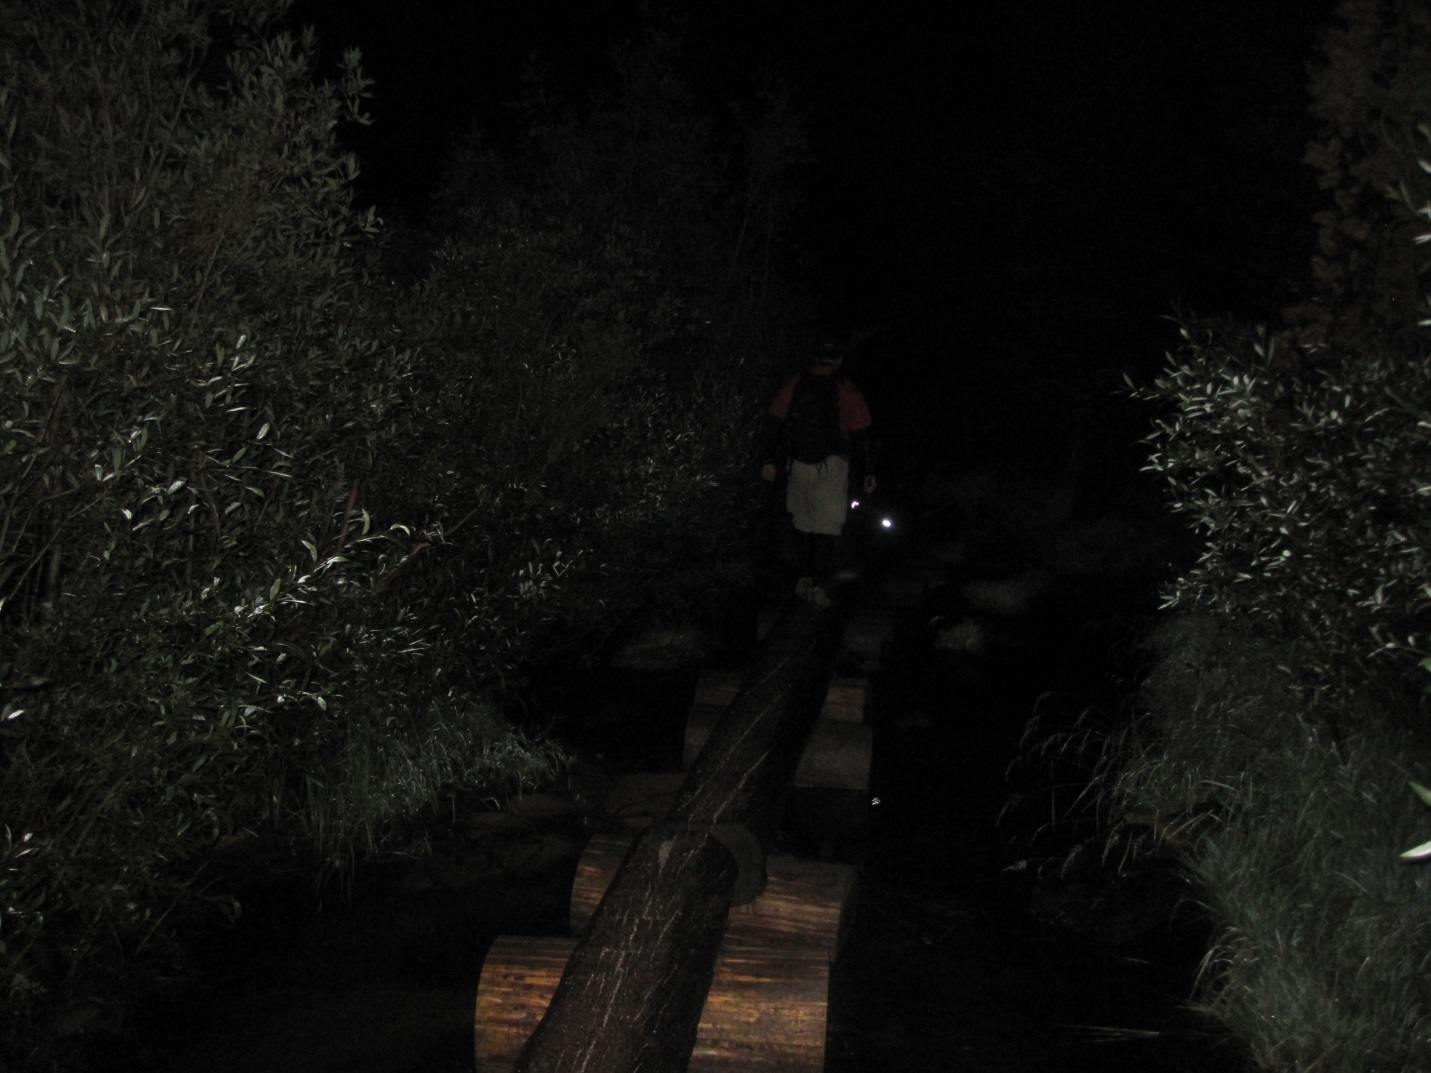
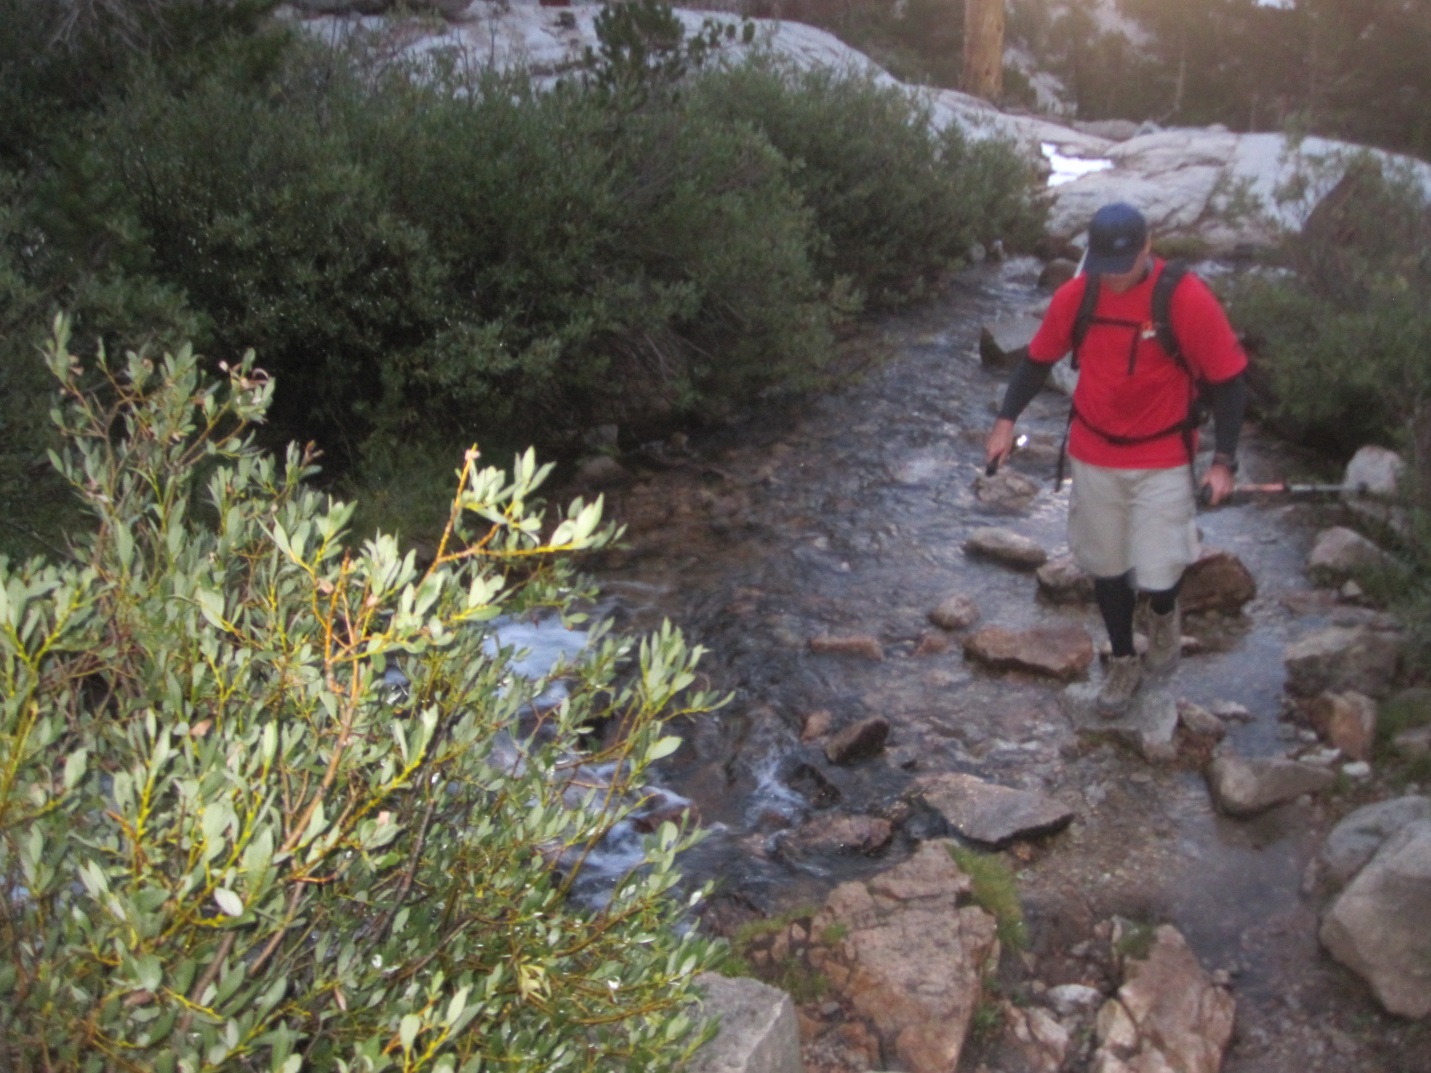
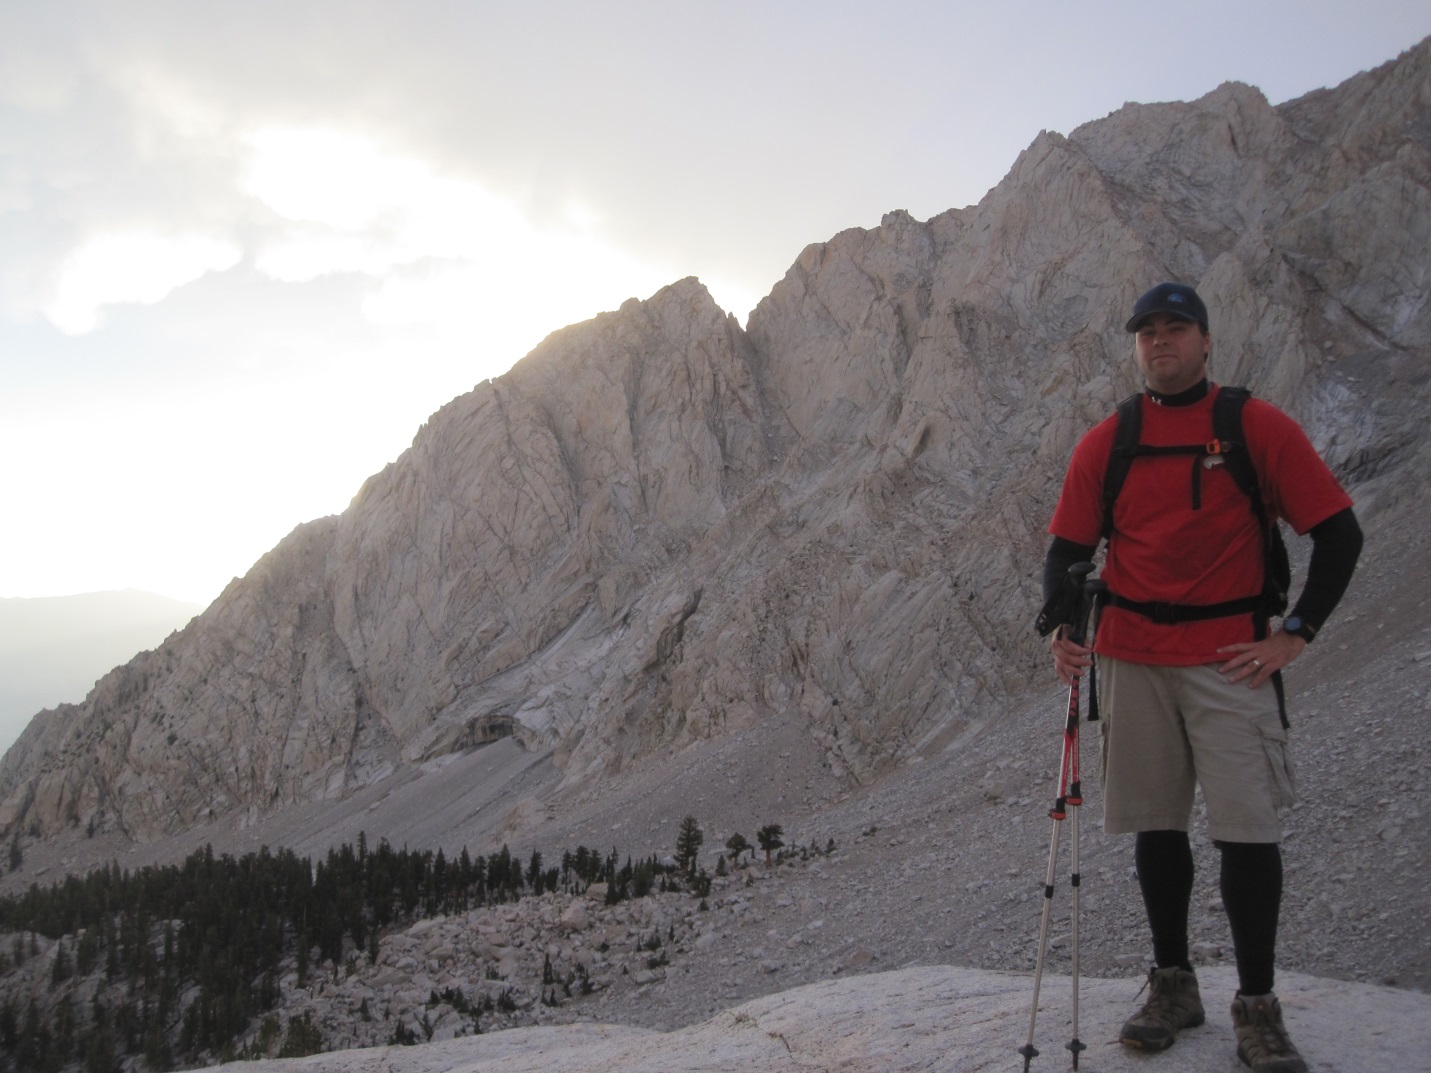
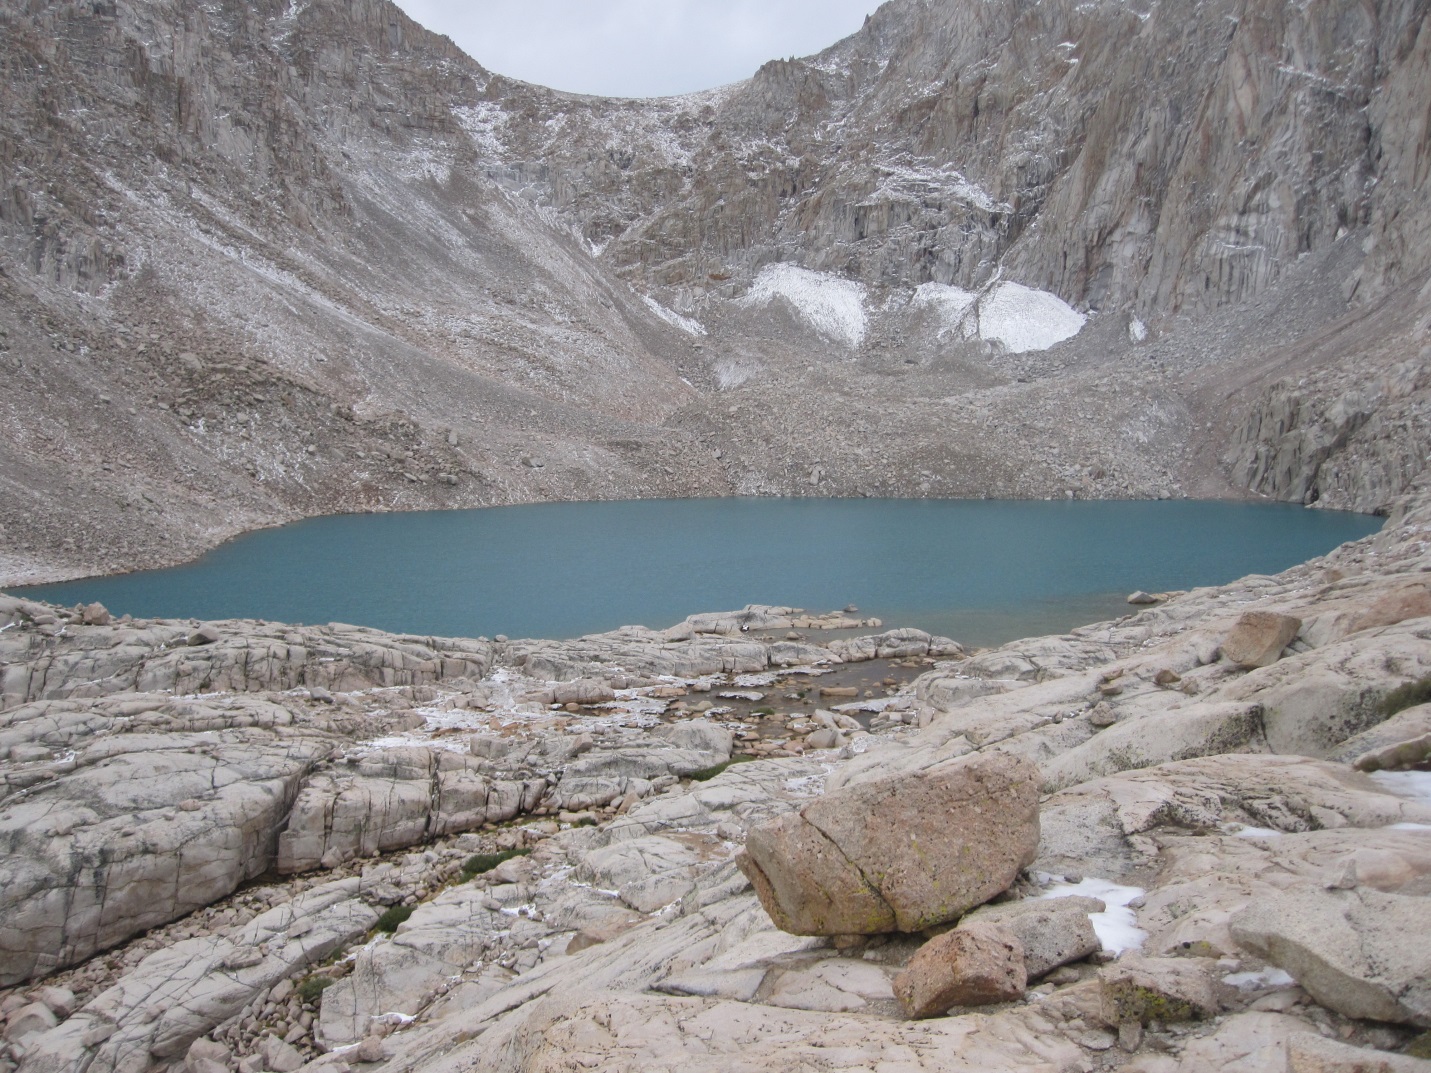
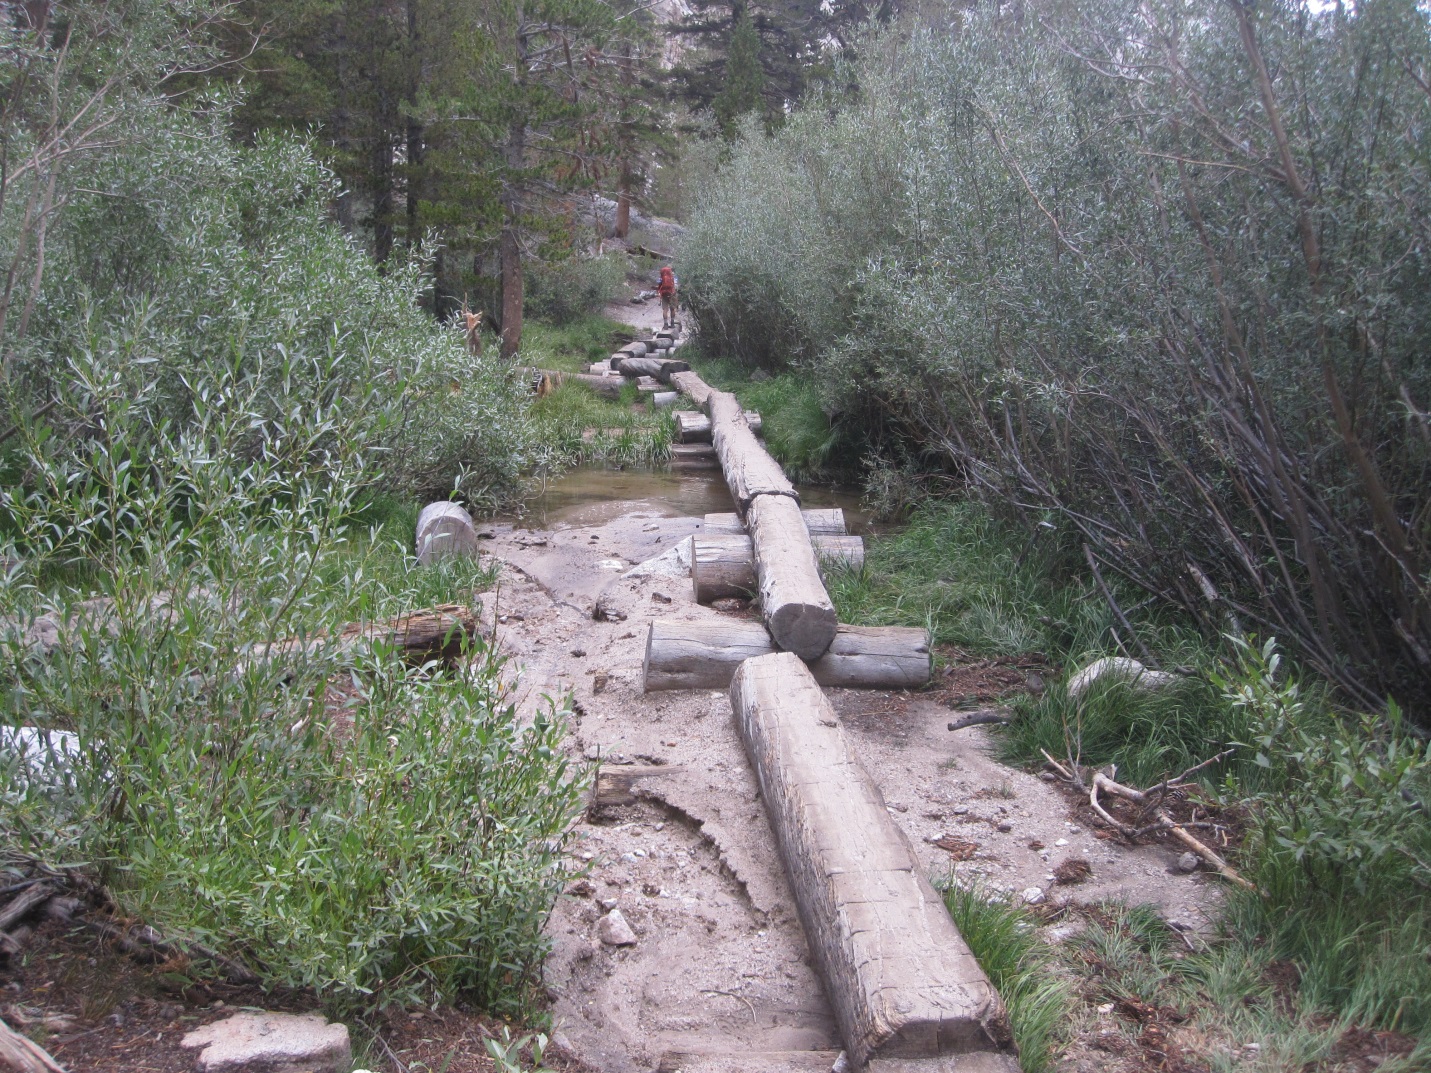
The trail starts off fairly gradual and the beginning portion is highlighted by crossing a log bridge and some rocks to get across running water. Be careful as they can be slippery. Once the sun started to rise you really get to see the true beauty of the mountain and surrounding area. I remember thinking, I can’t believe this scenery is in California.
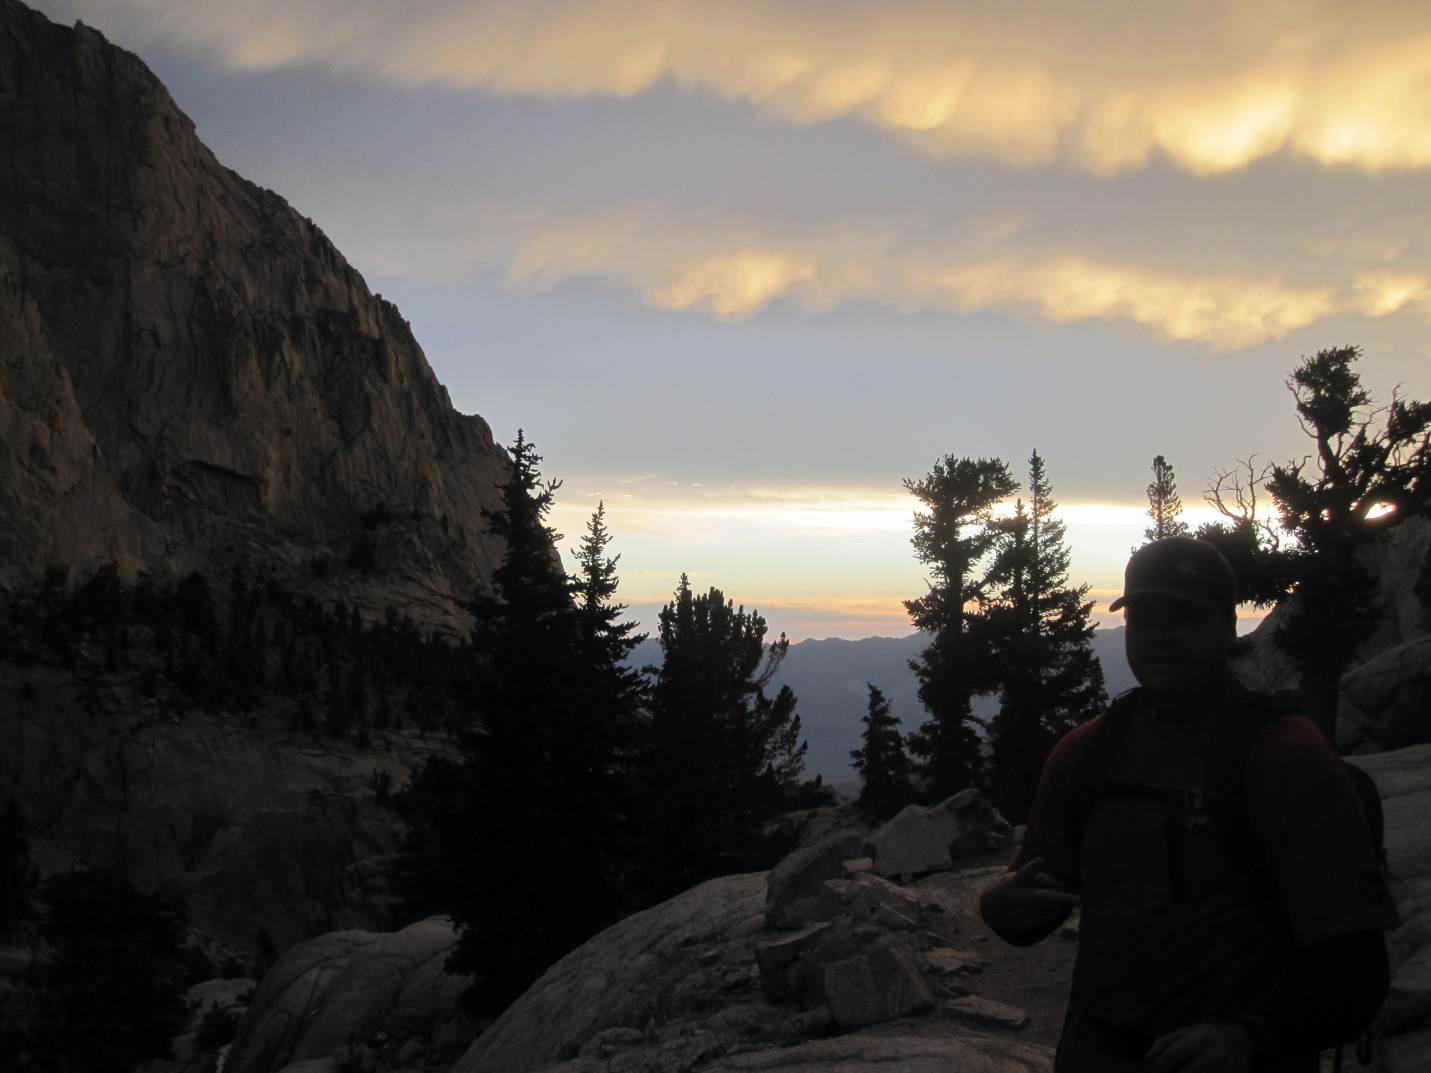
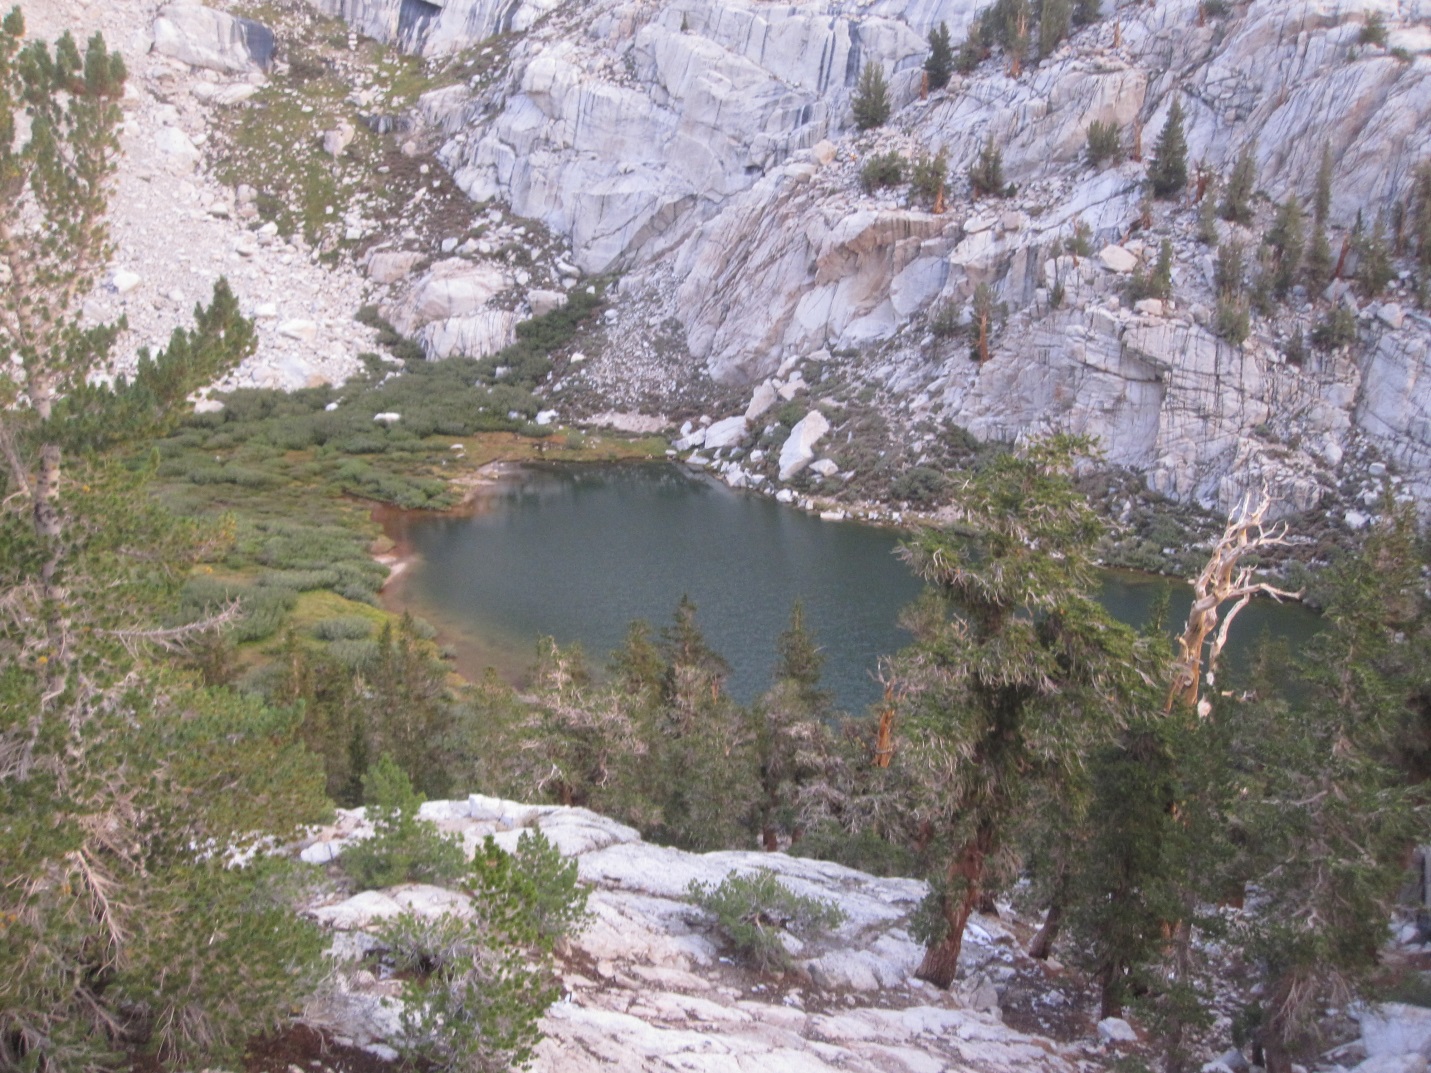
As you continue up the trail does become more rocky and is hard on the bottom of your feet. However, you have lakes, waterfalls, and a majestic mountain to keep you pushing on.
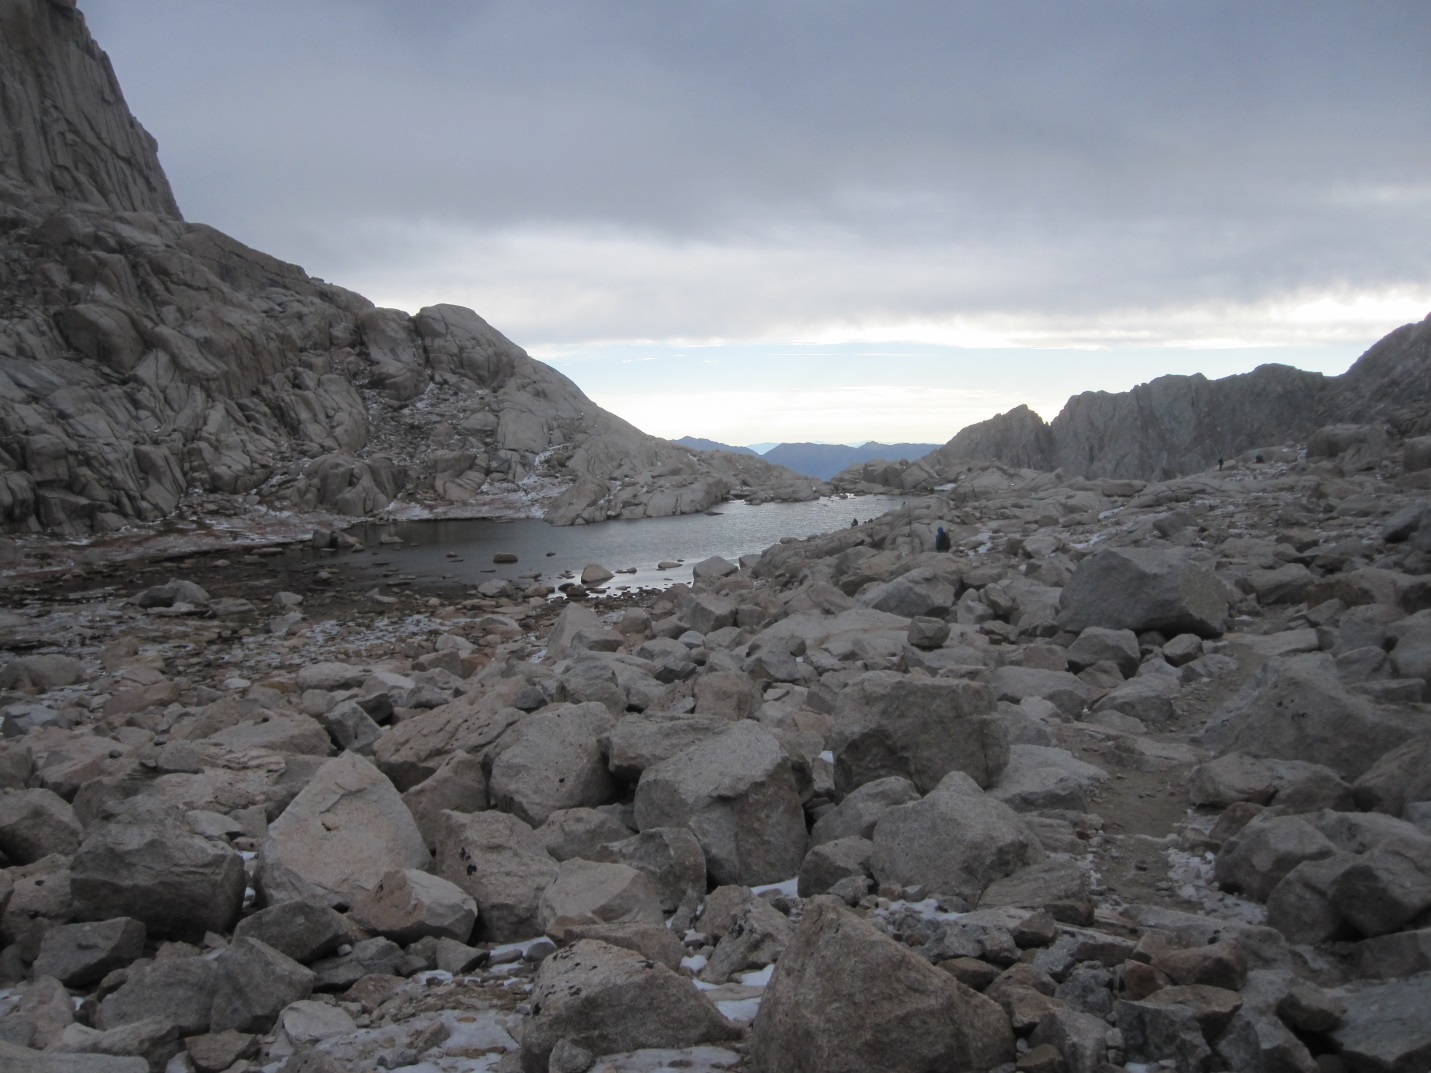
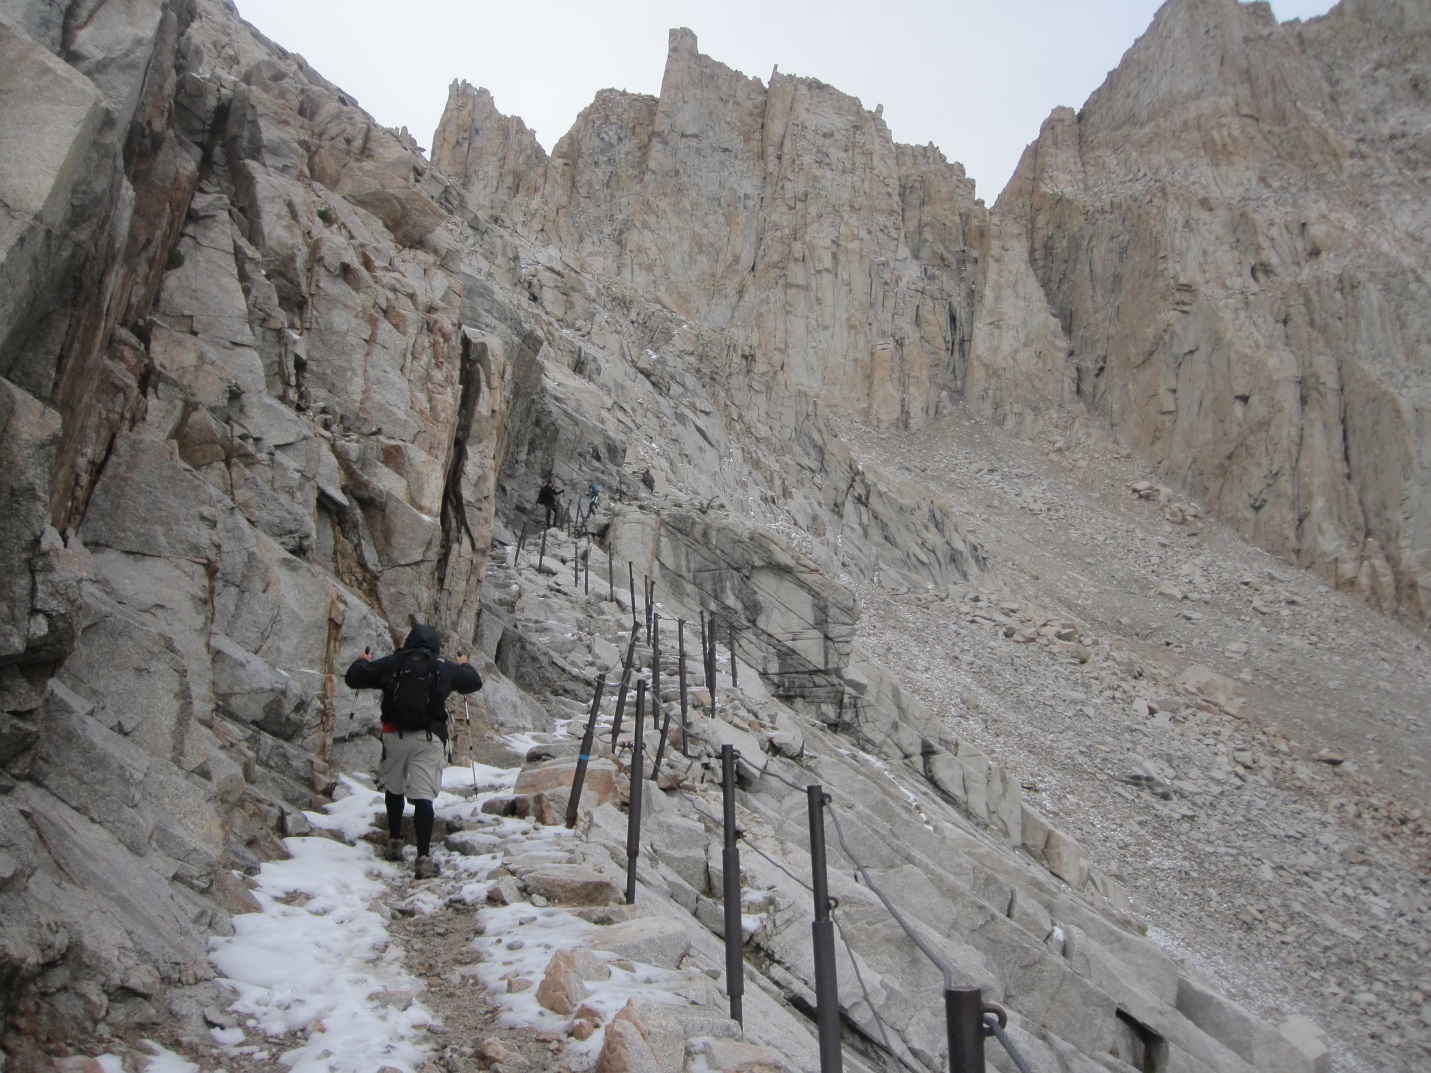
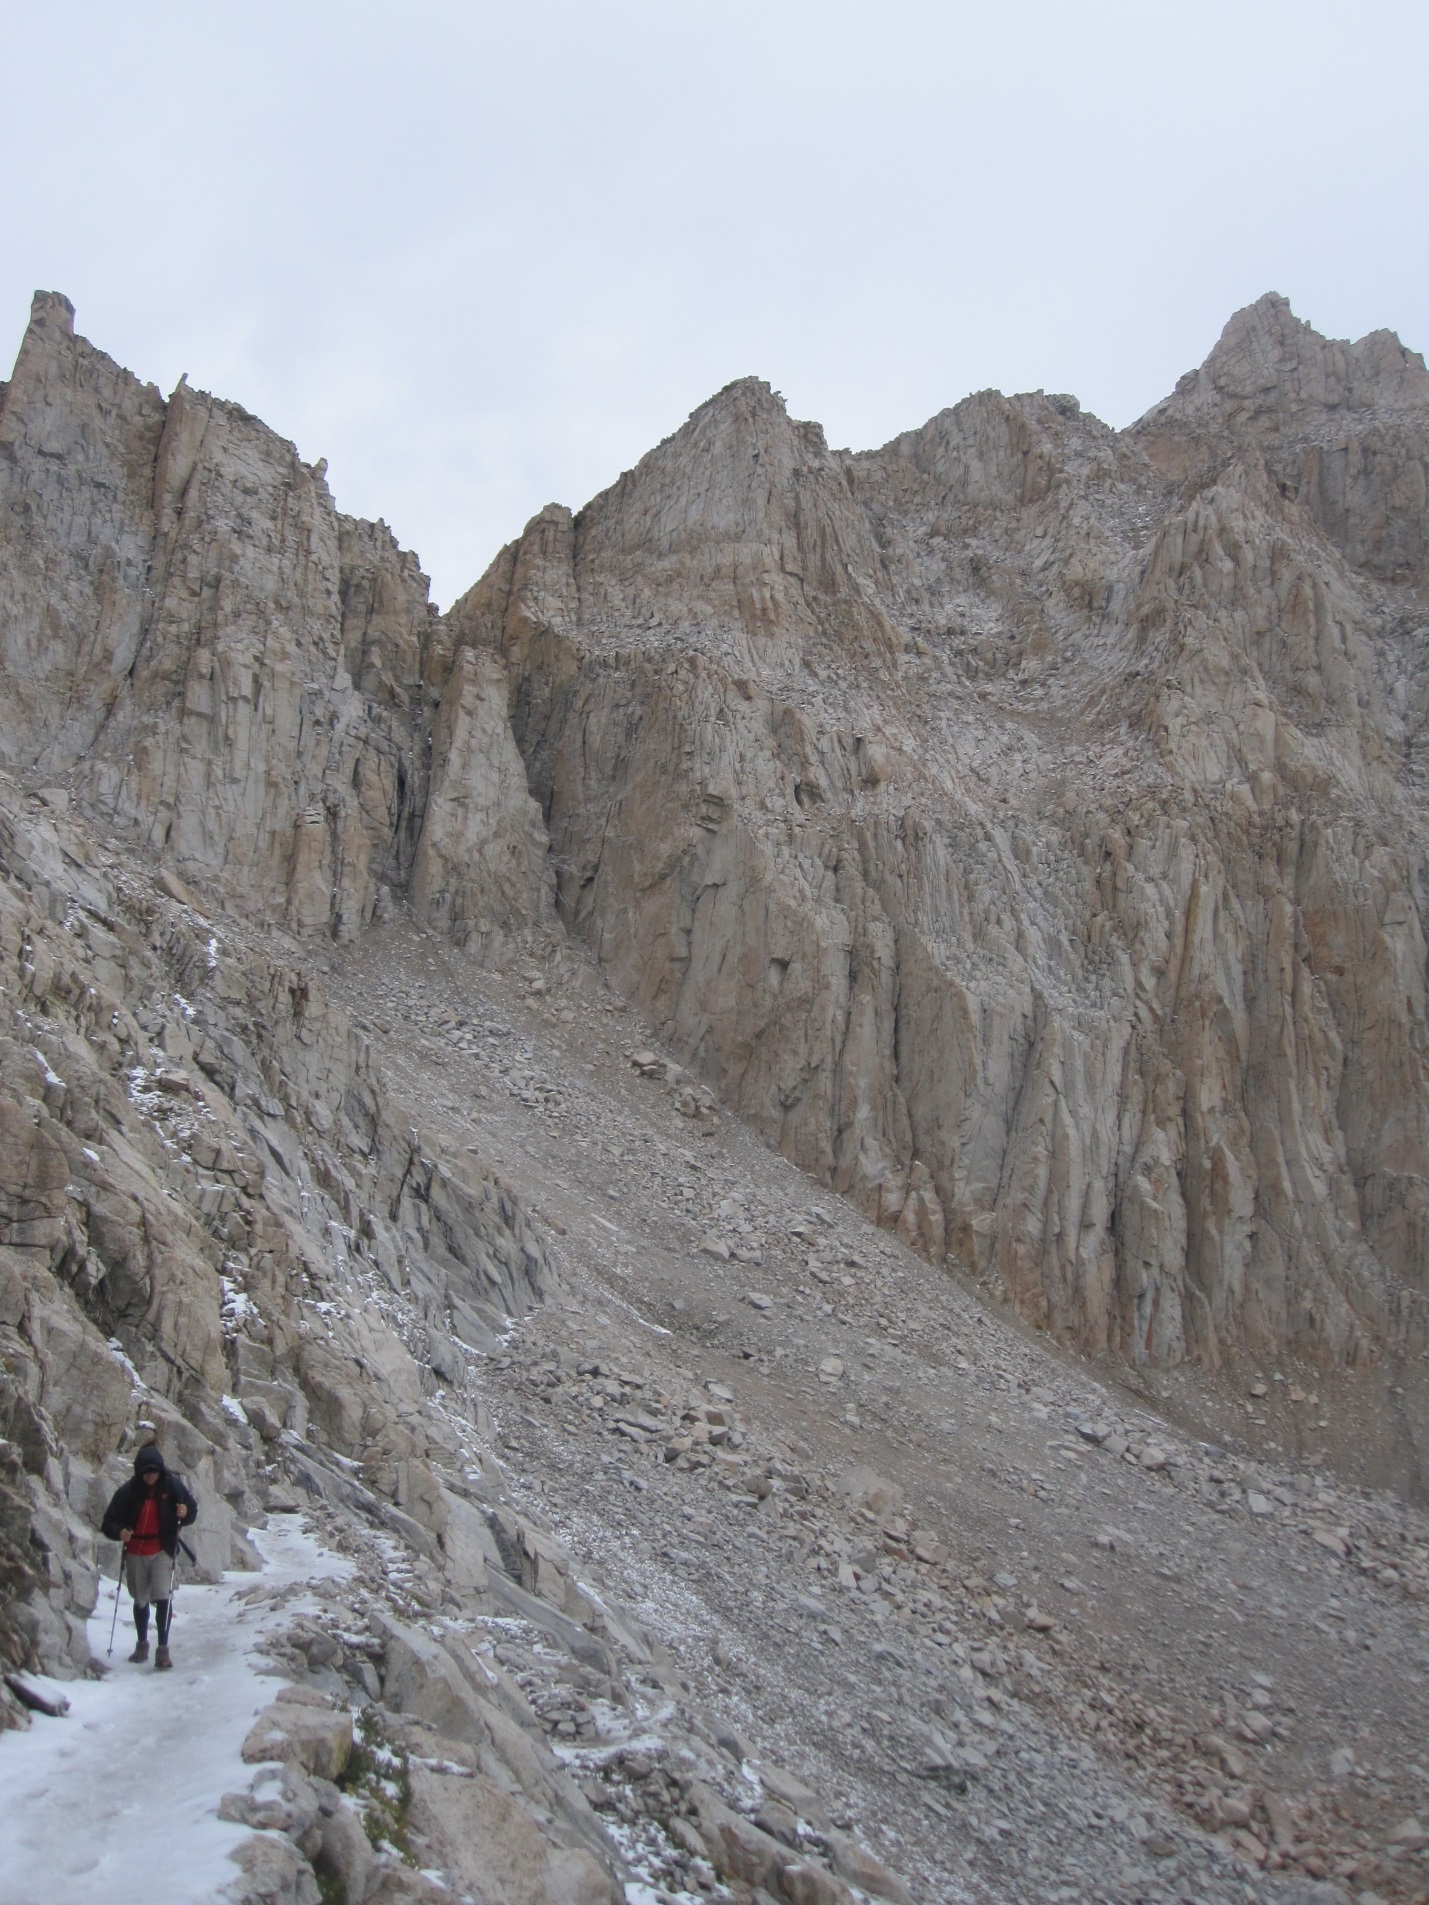
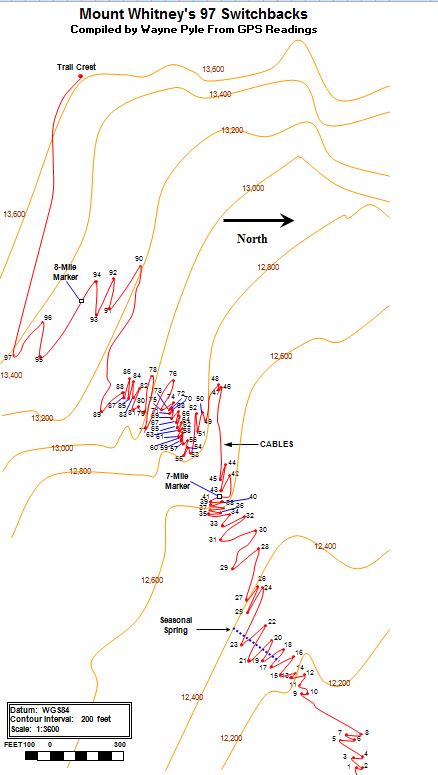
The next portion of Whitney is the most famous, the 99 switch backs! It is tedious and headphones definitely helped. Also, there are cables are a section of the switch backs which do help when there is snow. We did hit patches of snow and did have micro spikes for extra traction.

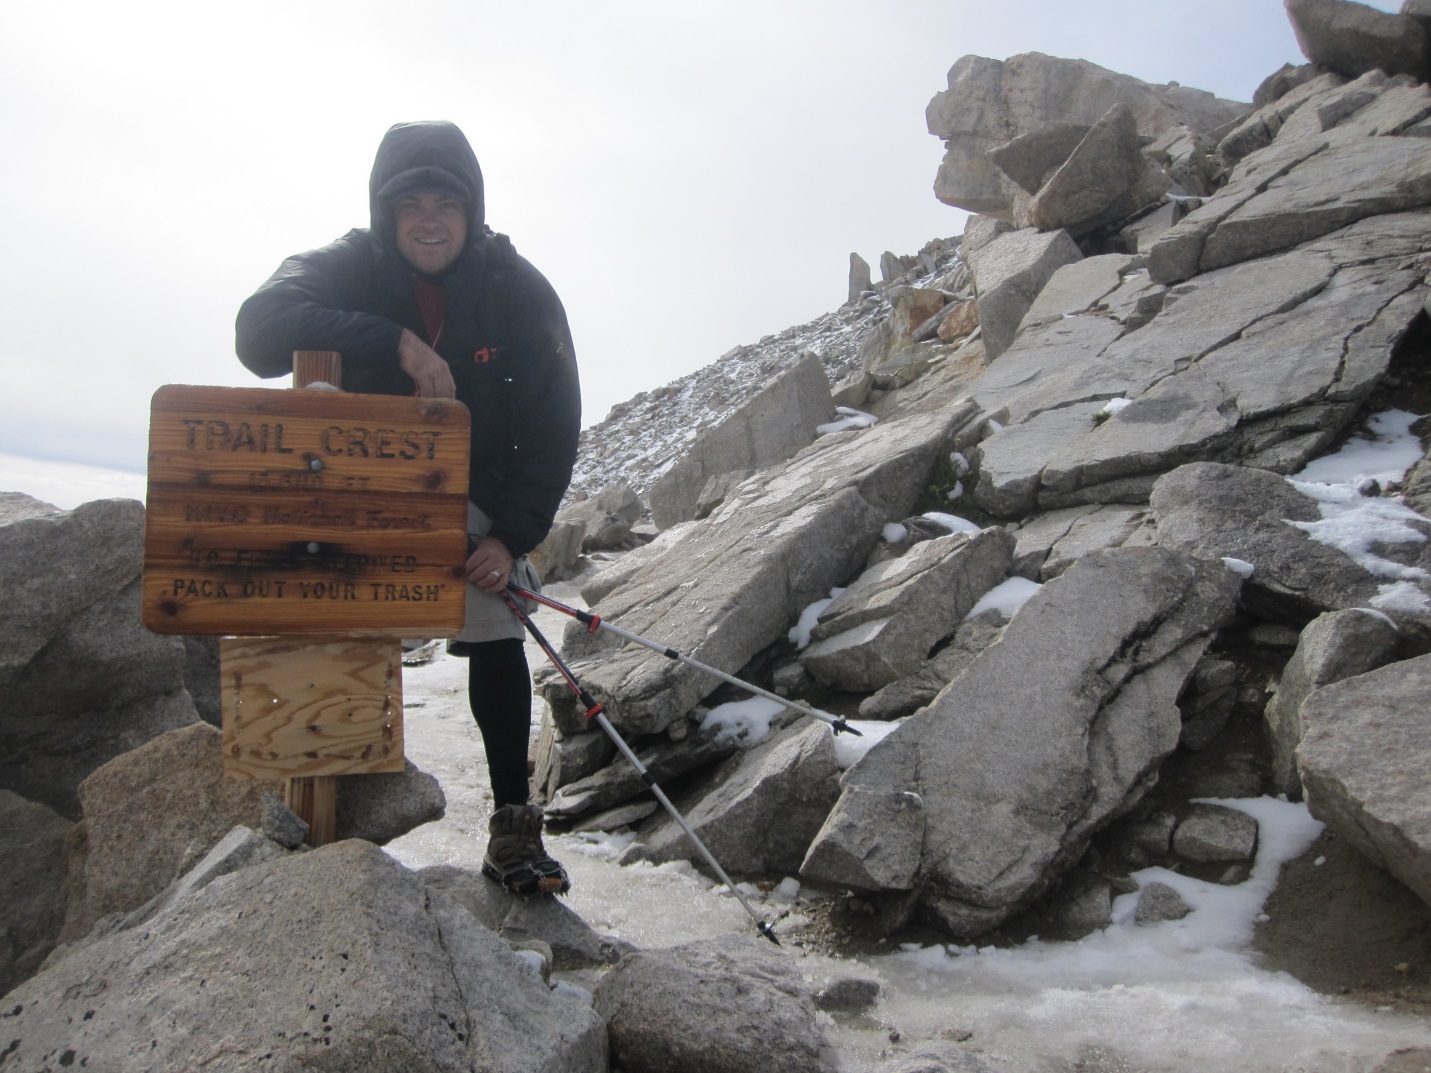
After what seemed like a lifetime, you come to the Trail Crest sign at the top of the switch backs.
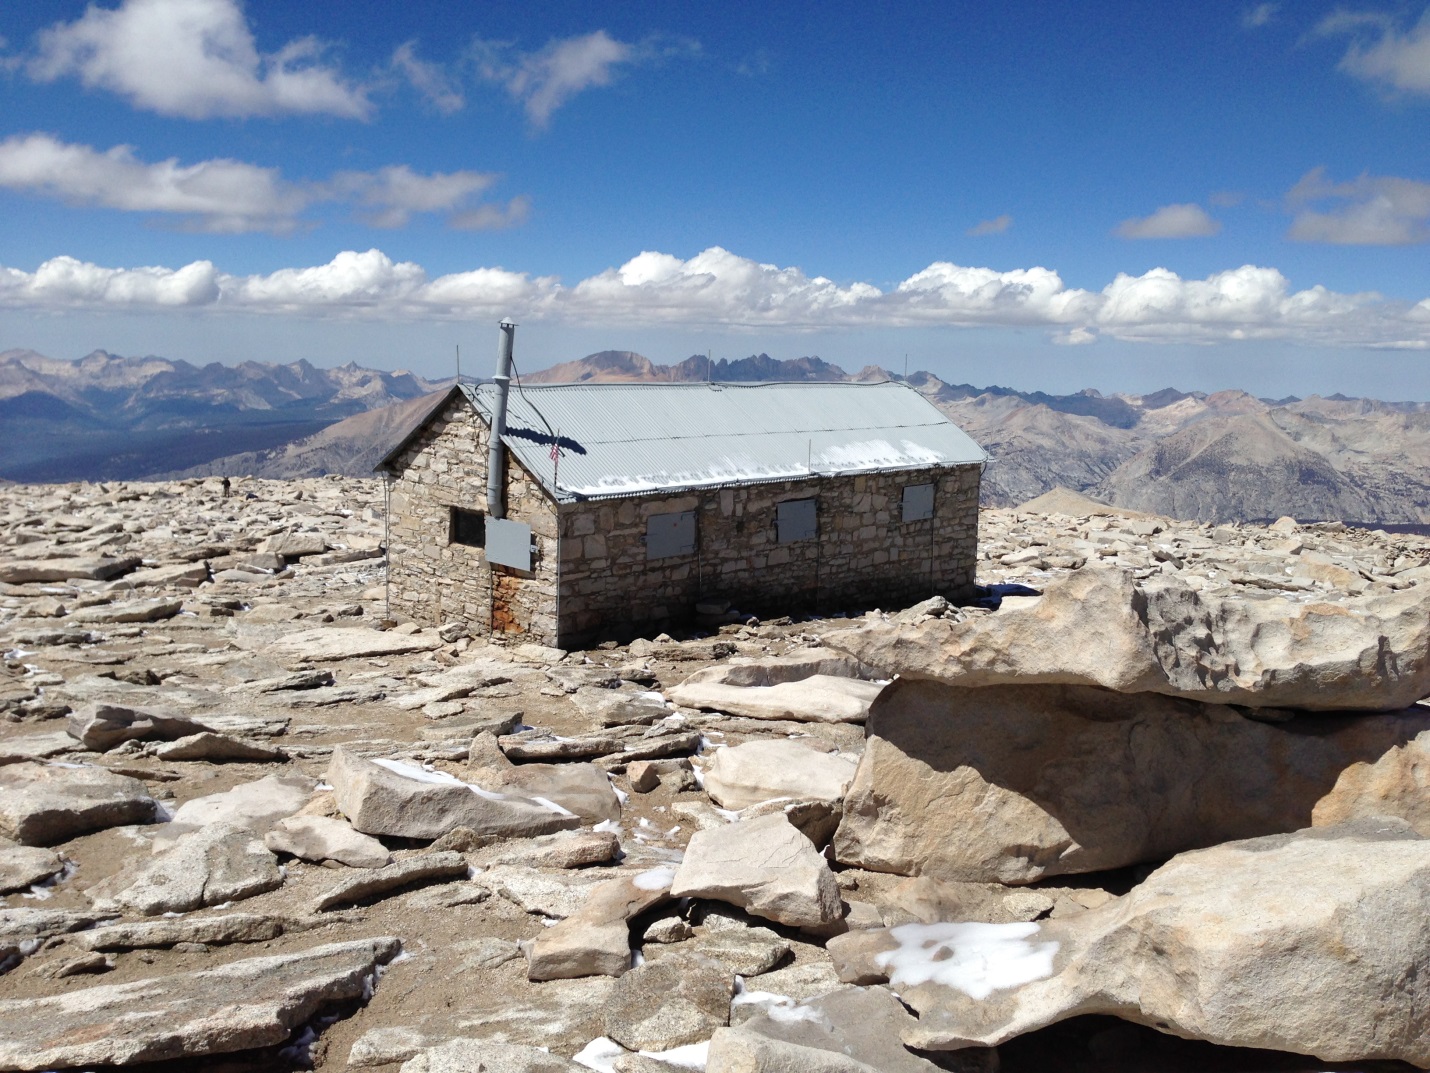
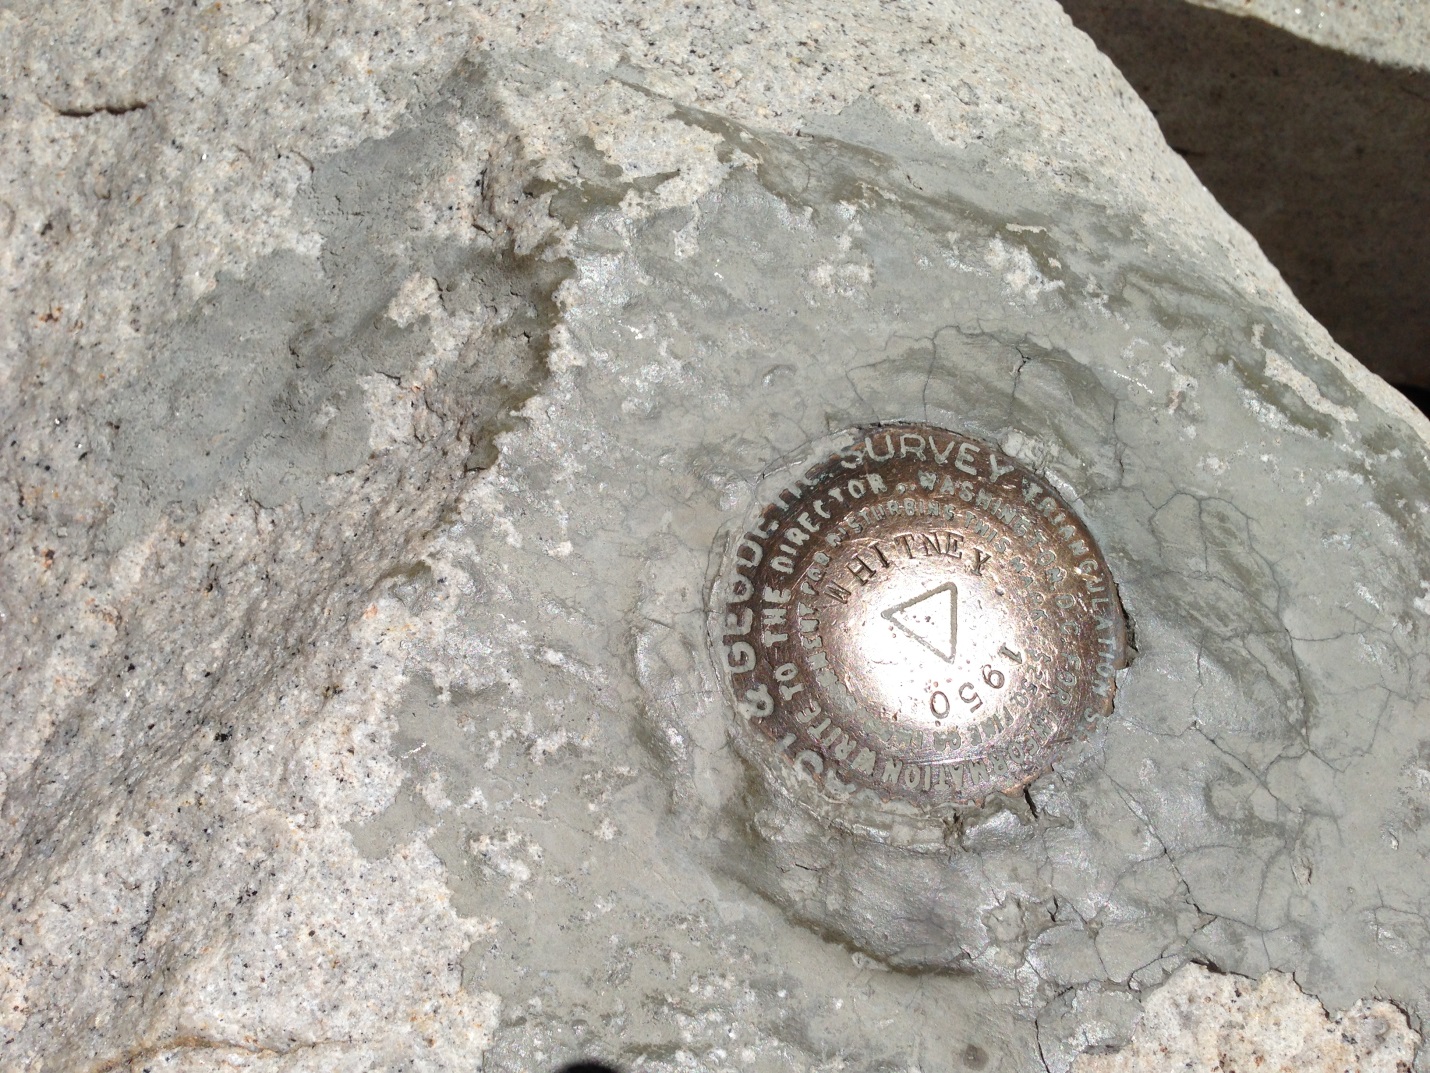
The remainder of the hike was actually the hardest for me personally. It is rocky the rest of the way up and after already hiking 10 miles or so, it was hard on the feet and knee’s. However, after 7 hours, we reached the summit. The feeling is really indescribable and you have to stand up there to experience it. There are many summit markers, plaques and even a house to make for great pictures.


After a 30 minute lunch break we headed back down. Marmots greeted us right before the 99 switchbacks and be careful to set you pack down because they will steal your food.


Mt Whitney was truly an experience I will never forget. Would I do it again, ABSOLUTLEY. It is a lot of miles and elevation for one day but the complete experience is worth it. I want to thank my best friend Rich for coming on this journey with me. As always, he served as inspiration to accomplish this huge goal and check another one of the bucket list.
Below are the switchbacks drawing made by Wayne Pyle.
Telescope Peak By Cabin96

HOME Category of all CABIN 96 Hikes Contact CABIN 96
“When you step out of your comfort zone, amazing things can happen.” This motto has motivated me the last few years to attempt some tough day hikes but none have compared to hiking Telescope Peak (elevation 11,049 ft) from Shorty’s Well (elevation -250 ft, that’s right as in minus 250 ft below sea level). Telescope Peak is the highest peak located in the Panamint Mountain Range in Death Valley, CA. It received the name due to the fact that from the summit you could see no further with a telescope. To the West offers a great view of Mt Whitney (highest elevation in the lower 48 states at 14,505ft) and to the East is Badwater Basin (lowest elevation in North America at -282 ft).
Needless to say, the logistics for this hike are a pain. We arrived the night before the hike and left a car at Mahogany Flats Campground. We had heard that you need a 4X4 vehicle to get up this road, however we made it in a Toyota Yaris with no issues. I also highly recommend stopping to see the Charcoal Kilns on the way up.
Mahogany Flats Campground the night before

Parking area where we left the car

Charcoal Kilns on the way down

We then made the almost 2 hour drive to Furnace Creek Campground. You can make reservations for the campsite at www.recreation.gov. After a quick 4 hours of sleep, we awoke at 2:30am, packed and headed to Shorty’s Well. To get there you take a right on Highway 190 from the camp site, turn right on Badwater Road and then another right on West Side Road. West Side Road is a dirt road and while you do not need a 4X4 to drive on it, the drive is quite slow. It took around 45 minutes total from Furnace Creek Campground to Shorty’s Well. To get to the Shorty’s Well parking area, you turn left off of West Side Road.
Start of the Hike

Hanaupauh Canyon Road

Telescope Peak in the Distance

Looking back on Badwater Basin

We started the hike, around 4:00am, up a very gradual 7 mile stroll on Hanaupauh Canyon Rd, which is a 4X4 road. The weather was around 60 degrees F and I have never seen so many stars. We must have seen a dozen or so shooting stars, perfect way to start a hike. The sun started to rise as we came to the entrance of Hanaupauh Canyon.
We stopped and had breakfast here to get ready for what lied ahead. Also, this part of the hike is absolutely the most critical point. We had received advice from a Death Valley Park Ranger that if and only if we had carried enough water (we each had 5 liters) his advice was to start climbing the East/West Ridge immediately upon entering the Canyon. The alternative is to continue in the canyon to the only water source on the entire trail which is Hanaupauh Creek and then hike to the right up a Class 2-3 scree slope that is around 1600ft! If anyone has ever done this, I commend you. Now, the route we took was when you enter the canyon there is a small ridge on your right that joins the larger East/West ridgeline. Where these two ridges met, we climbed a short Class 2 scree slope which was around 200 ft. From there we continued up and over 2-3 more ridges until the terrain leveled out at around 4,500 ft.
East/West Ridge where we started our ascent

Ascending from Hanaupauh Canyon Road to the East/West Ridge

East/West Ridge, one of about 4 hills to climb before it levels out

Up we go

Looking back on the progress we’ve made following the ridgeline

Climbing up the final hill before it levels out, around 4,500 ft

The next few miles you actually lose elevation while you go up/down over 3 saddles. All the while you are looking at what’s ahead and noticing that you still have another 5,000-5,500ft of elevation to gain. After going up and over the last saddle we stopped for lunch to refuel and look at the task ahead
Keep following the ridgeline

The bare ridge off to the very right is where you make the final ascent to the North/South Ridge

Final Push to the North/South Ridge

There really is no way to describe the final ascent from the East/West ridge to the North/South ridge that meets up with the Mahogany Flats trail other than I’ve never hiked anything like it. It is rocky, steep, and slow-going. I highly recommend trekking poles as these helped tremendously along with headphones. We really took our time here and tried to improvise little switch backs all the while still going up. Patches of snow also were on this ridge and were unavoidable so we put on our micro spikes. There is light at the end of the tunnel when you see the ridge line with the bristle cone pine. I just kept focusing on that pine and traversed to the right as this seemed a little less steep than the left or middle side (not by much). Finally, we arrived on the Mahogany Flats Trail and it never felt so good to hike on a trail. From here you hike along the ridge and after traversing some switchbacks you arrive at the summit. The views are just incredible and being able to see the lowest and highest points in the lower 48 states at the same time is an added bonus. It almost seemed surreal that we had come all the way from Shorty’s Well but here we were.
Mt Whitney to the North

Badwater Basin to the South along with Shorty’s Well

It was getting dark so we high tailed it down the Mahogany Flats Trail back to Mahogany Flats Campground. By this time we were extremely tired so it was slow going. We donned our head lamps and just put one foot in front of the other. The 7 mile trail from the summit to the campground seemed like it was taking forever. So much so, that for a minute we thought we were lost but continued to press on. Finally, we arrived at the car we had parked the night before and completed the day. The 2 hour drive back to Furnace Creek Campground was so long and it took all my concentration to stay awake. We made it back around 11:00pm and immediately went to bed.
The next day we went back to Shorty’s Well to get the car we had parked at the start of the hike. This gave us the opportunity to take pictures of the Devils Golf Course, the start of the trail and the view of Telescope Peak in the distance. It was a great reflection to see what we had accomplished the day before. I have great respect for this mountain and as previously stated, this was definitely the hardest hike I have ever done. Even though a hike like Cactus to Clouds has similar mileage and relative elevation gain, this hike is much harder because there is no established trail. It is very hard on your legs hiking over all the rock, lose scree, steep inclines, etc.
Devil’s Golf Course

West Side Road


All in all, I’m very grateful to have been able to hike Telescope Peak. Total Elevation: 11,520 ft and Mileage: 23 miles. Thank you to HW Stock, SteveH and Candace_66 for your help in advance of the hike. Also, a huge debt of gratitude and thanks to Charlie for your advice on the East/West ridge approach and ascent.
Last but certainly not least to two awesome people who I could not have done this hike without. Thank you Vern for all your help in preparation, advice given, guidance and motivation. And my best friend Rich, thank you for taking this adventure with me. Without your help, none of this would have been possible. Cheers too many more adventures.
Gear List:
- 5 Liters of Water
- Trekking Poles
- 10 Essentials
- Satellite Phone
- GPS
- Power Gels
- 5 Hour Energy
- Croissants, Banana for Breakfast
- Chicken for Lunch
- Headphones
- Gloves
- North Face Jacket
- Under Armour Tights and Long Sleeve
- Micro Spikes

Cactus to Clouds By Cabin96
HOME Category of all CABIN 96 Hikes Contact CABIN 96
For an entire year, all hikes and training I did were to get ready for this. Cactus to Clouds or “C2C” is the journey from Palm Springs up the summit of Mt San Jacinto at 10,834 ft. I had heard all of the comparisons; 5th hardest day hike in the US, similar to climbing 1,000 flights of stairs and very close to the same elevation gain from Everest Base Camp to Summit. The training hikes throughout the year consisted of Santiago Peak (Saddleback Mountain), San Gorgonio via the South Fork Trail, Mt Whitney and Mt San Antonio (Mt Baldy) via the Bear Canyon Trail.
Every day I studied trail reports, the Mt San Jacinto Forum and other blogs to learn about this massive adventure. Since Palm Springs is so hot throughout most of the year and the Summit has snow during the winter and spring months, we decided on October 25, 2013, to make the journey up. We got out to Palm Springs the night before and stayed at the Desert Lodge Motel since it was close to the trailhead. After a short 5 hours of sleep, we awoke at 2:00 am and prepared for the hike. I always like to stretch for at least 30 minutes and have a banana, bread and 5 hour energy to start. We made the short drive down Ramon Road until it dead-ended into the North Lykken Trail.

Now, there are two trails you can take; one starts at the Palm Springs Desert Museum and the other is the trail we decided on, the North Lykken Trail. I had heard that the Museum trail could be confusing with all the false trails blazed and I’m very glad we took the North Lykken trail. It is a well-established and very easy to follow, especially since we were hiking in the dark with head lamps.
We hit the trail at 3:15am, definitely the earliest I’ve started a hike but I’m glad we did.

It is a very gradual start to the hike with some switchbacks that take you from 450 ft elevation to around 1600 ft elevation where you encounter a “Rock Cairn” and then shortly after two painted rocks nicknamed “Reality Check Rocks.” Take the warning seriously and make sure you bring enough food and water (we had 5 liters each). We also encountered a furry friend just beyond the “Rock Cairn”.


Another mile or so later, we came to Rescue Box 1. There are two rescue boxes on the trail and good Samaritans have filled these with water and other goods to help in an emergency only. Take note though, that it should not be expected anything will be in these boxes so plan accordingly.

You do start to notice that you have gained some elevation since the start of the hike and the view offers a great vantage point of Palm Springs below.

From Rescue box 1 to the next major milestone which is the 4300 ft rocks, offers you a more challenging incline and starts to get your legs burning. Since we were hiking in the dark, the time seemed to go fast but I did work up a pretty good sweat for this 2 mile stretch. Before we knew it, the sun was starting to rise as we approached the 4300 ft rocks. We decided this was a good time to stop and have breakfast. The views of the sun rising over the mountains and the slight view of the Salton Sea were incredible


After refueling with breakfast we continued on what is nicknamed “the never ending ridge”. This part of the hike is fairly flat and is a good cool down period from what lies ahead. Also, we did notice there were a few other trails that lead down to the valley below and could see how people could get lost. When this happened we just stuck to the method of always continuing up and we never did get lost. The next point we came to was “Rescue Box 2” at around 5400 ft elevation.

Shortly after came Florians Bucket, Florian is a local who was kind enough to leave water here but again, please take warning to not expect any water and be prepared. Next came Flat Rock (off to your left) where we decided to take a break and prepare for the hardest test of the entire hike.


From just after Flat Rock and up through the Manzanita comes the biggest challenge of the entire C2C journey. It is steep, long and hard. The closest previous hike that mimics this part of C2C was the Bear Canyon Trail up to Mt Baldy. I highly suggest training on this trail in advance of this hike and if you can make it to the summit in around 4 hours or so, you should be good. You also start to get good views of both the tram and Coffmans Crag which is the giant rock formation you can see for much of the hike.


After climbing more than 1600 ft in a mile, you come to the Traverse. Since this was October, there was no snow on the ground and it was easy to travel on. Take warning though, if there are snowy or icy conditions micro spikes or maybe even crampons would be necessary. From the Traverse we kept hiking almost to the base of Coffman’s Crag where we could look down and see the gully below. You do not want to start to ascend too soon or you can get into some difficult terrain and have the potential to get stuck.


From Coffman’s Crag to Grubb’s Notch is a steep ascent. I actually cramped up here and had to stop for a minute to stretch. And just when you think, when is this going to flatten out, you come to the Grubbs Notch sign and there is no better feeling (except summiting of course). This is also the first time all day we saw other people who were in awe that we had hiked from the desert floor below.

It is a short hike over to the concrete ramp that leads to the tram, restaurants, etc. Now going up the concrete ramp was not bad this time around and we almost jogged up with the smell of food in the air. We took around an hour break at the restaurant ate, drank Gatorade/water and relaxed. However, don’t fall into the trap and get too comfortable, you still have another 12 miles round-trip to the summit and back. Before leaving we took some great pics from the tram:


We then left the tram and headed to the ranger station in Long Valley. You do have to fill out a self-issued permit here in order to summit and they also can refill your water as well.
The rest of the hike is a pretty gradual ascent to the summit, especially considering what you just hiked, through Round Valley, Wellmans Junction and then Mt San Jacintos Summit.


The last few hundred feet or so before the summit, you do have to scramble up boulders where you then come to the Summit Cabin. We peaked our heads inside just to take a few pictures.


And then after some 17 miles and 10,500 ft or so ft of hiking, we reached the Summit of Mt San Jacinto. All the hard work had paid off and the views were incredible in every direction. I took around 30 mins to reflect on the previous year’s journey and just breathed in the fresh mountain air.


Then it was time to head back to Long Valley to the Tram. By this time we were pretty tired and took our time going down the gradual descent. It did seem to take forever to get back and then we saw the concrete ramp for the tram. There is no better feeling and no worse feeling at the same time. What seemed so easy to go up the first time around, took forever the second time around. I swear they extended the ramp since we had previously been there. But, after 22 miles total for the day, we made it and took the 7:00pm tram down.

The tram conductor was nice enough to call us a cab which was around a 20min ride back to the North Lykken trail head. All in all it was a great day and something I will always remember as a top accomplishment. A big thanks to Hikin’ Jim for all his advice, check out his TR here. It is what I used and offers a ton of information, http://hikinjim.blogspot.com/2012/12/the-skyline-trail.html.
Last but not least to Dave, Kyle and Rich; I could not have completed the journey without you guys. I can’t thank you enough for embarking on this journey with me. One we will never forget.


- 5 Liters of Water
- Trekking Poles
- 10 Essentials
- GPS
- Power Gels
- 5 Hour Energy
- Croissants, Banana for Breakfast
- Chicken for Lunch
- Headphones
- Gloves
- Under Armour Tights and Long Sleeve
- Micro Spikes
About Cabin 96
This is about me..Heck ICORVA well write one up
Home garage - Southern California
A professional
Licensed Pilot
Positive attitude
Extreme Hiker
Trains for these hikes
Carries the correct equipment for these hikes
Hikes with experienced trusted hikers